1、 容器
在过去,如果要开始编写Python应用程序,首先要做的就是在机器上安装Python运行时环境。但是,这就造成了这样一种情况:你的机器上的环境需要完美,以便你的应用程序能够按预期运行,而且还需要与你的生产环境相匹配。
使用Docker,你只需要获取一个可移植的Python运行时作为镜像,不需要安装。然后,当你构建应用程序时就会在代码旁边包含基本的Python镜像,确保应用程序、它的依赖项和运行时一起运行。
这些可移植的镜像被一些称之为“Dockerfile”来定义。
2、 用Dockerfile定义一个容器
Dockerfile
示例:
在你的本地机器上创建一个空目录,进入该目录,然后在此目录下创建一个名字叫Dockerfile的文件,将下列内容复制粘贴到文件中,保存。
# Use an official Python runtime as a parent image
FROM python:2.7-slim

# Set the working directory to /app
WORKDIR /app # Copy the current directory contents into the container at /app COPY . /app # Install any needed packages specified in requirements.txt RUN pip install --trusted-host pypi.python.org -r requirements.txt # Make port 80 available to the world outside this container EXPOSE 80 # Define environment variable ENV NAME World # Run app.py when the container launches CMD ["python", "app.py"]
可以看到,Dockerfile文件需要引用app.py和requirements.txt文件,于是,在与Dockerfile同级的目录下创建这两个文件
requirements.txt
Flask
Redis
app.py
from flask import Flask
from redis import Redis, RedisError import os import socket # Connect to Redis redis = Redis(host="redis", db=0, socket_connect_timeout=2, socket_timeout=2) app = Flask(__name__) @app.route("/") def hello(): try: visits = redis.incr("counter") except RedisError: visits = "<i>cannot connect to Redis, counter disabled</i>" html = "<h3>Hello {name}!</h3>" \ "<b>Hostname:</b> {hostname}<br/>" \ "<b>Visits:</b> {visits}" return html.format(name=os.getenv("NAME", "world"), hostname=socket.gethostname(), visits=visits) if __name__ == "__main__": app.run(host='0.0.0.0', port=80)
构建App
$ ls
Dockerfile      app.py          requirements.txt
docker build --tag=friendlyhello .
$ docker image ls

REPOSITORY            TAG                 IMAGE ID
friendlyhello         latest              326387cea398
注意:tag默认是latest,当然你可以手动指定,比如:–tag=friendlyhello:v0.0.1
3、 运行App
运行app,将本地4000端口映射到容器对外公布的80端口
docker run -p 4000:80 friendlyhello
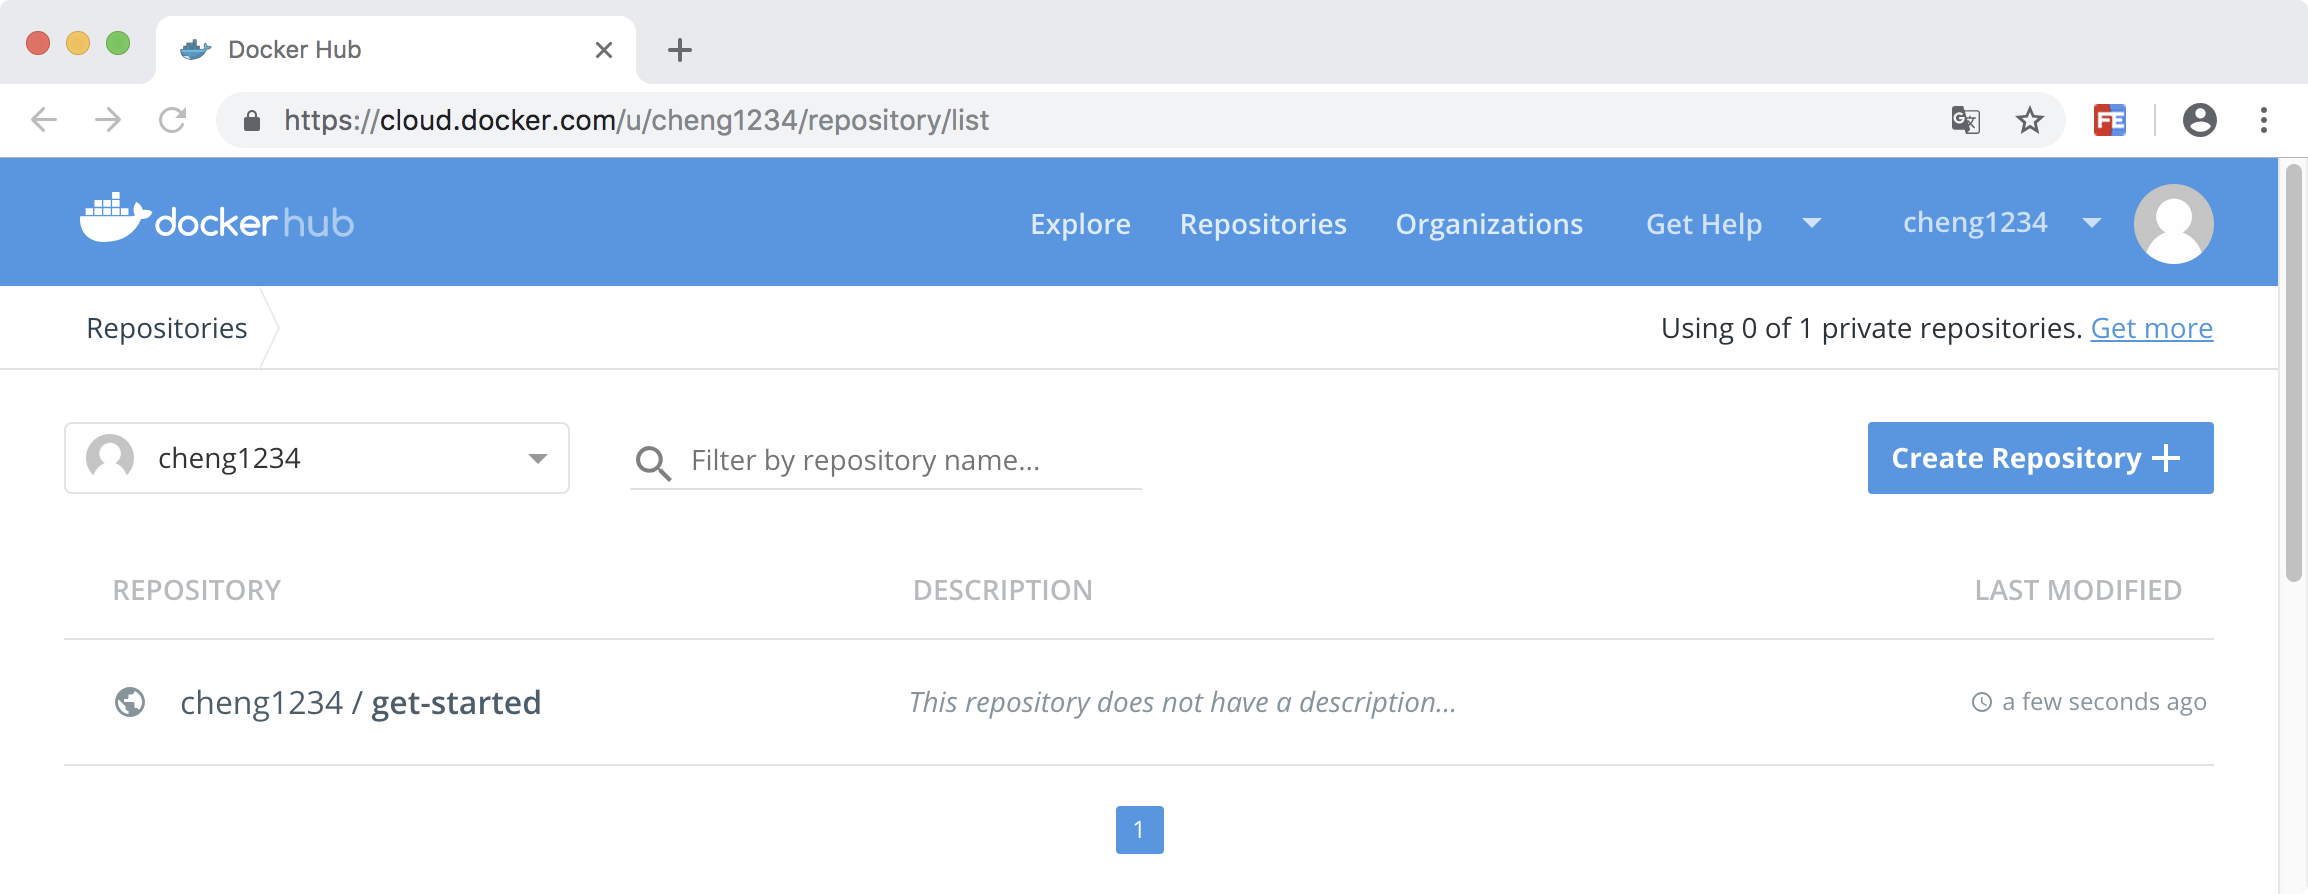
4、 共享你的镜像
为了能够在任何地方都运行,我们需要将我们的镜像上传到注册中心。注册中心是仓库的集合,而仓库是镜像的集合。这很像GitHub仓库或者Maven仓库。一个账号可以在注册中心中创建许多个仓库。
用Docker ID登录
$ docker login
5、 给镜像打标签
将本地镜像关联到注册中心的某个仓库,格式是这样的: username/repository:tag
其中,tag是可选的,但是推荐加上tag。当你关联到仓库后,注册中心会给这个镜像分配一个版本号
给镜像打Tag的格式如下:
docker tag image username/repository:tag
例如,我们给我们刚才的friendlyhello打一个tag
docker tag friendlyhello gordon/get-started:part2
6、 发布镜像
docker push username/repository:tag
(PS:这个过程很像git在本地打标签并推送到远程仓库)
1 git tag v1.0
2 git push origin v1.0
推送成功以后,我们就可以在注册中心看到了
7、 备忘单
docker build -t friendlyhello .  # Create image using this directory's Dockerfile
docker run -p 4000:80 friendlyhello  # Run "friendlyhello" mapping port 4000 to 80 docker run -d -p 4000:80 friendlyhello # Same thing, but in detached mode docker container ls # List all running containers docker container ls -a # List all containers, even those not running docker container stop <hash> # Gracefully stop the specified container docker container kill <hash> # Force shutdown of the specified container docker container rm <hash> # Remove specified container from this machine docker container rm $(docker container ls -a -q) # Remove all containers docker image ls -a # List all images on this machine docker image rm <image id> # Remove specified image from this machine docker image rm $(docker image ls -a -q) # Remove all images from this machine docker login # Log in this CLI session using your Docker credentials docker tag <image> username/repository:tag # Tag <image> for upload to registry docker push username/repository:tag # Upload tagged image to registry docker run username/repository:tag # Run image from a registry