清楚了spring的IOC 和 AOP,最后一篇就来整合SSH框架把,记录下来,以后应该会用的到。
–WZY
一、web项目中如何使用spring?
当tomcat启动时,就应该加载spring的配置文件,而不是每次都要手动使用new ClassPathXmlApplicationContext来加载xml。所以,spring提供了一个ContextLoaderListener。有了它,tomcat启动时,就会加载配置文件。
导入spring.web….jar

1、web.xml中添加监听器


 <!-- 配置监听器,用于加载spring 配置文件 -->
     <listener>
         <listener-class>org.springframework.web.context.ContextLoaderListener</listener-class>
     </listener>
View Code
这样配置的监听器,默认加载的是WEB-INF目录下的xml文件,而我们的配置文件在src下,所以需要进行下一步的配置。
2、web.xml中配置 applicationContext.xml 位置
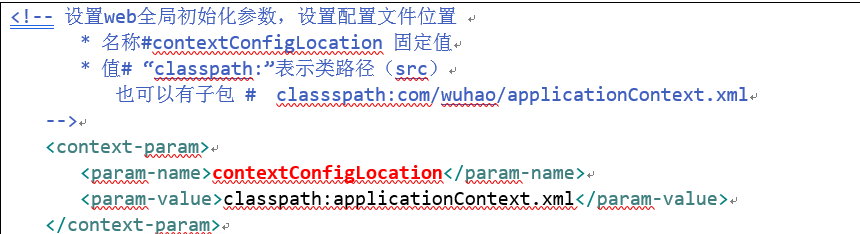


 <!-- 设置web全局初始化参数,设置配置文件位置
         * 名称#contextConfigLocation 固定值
         * 值# “classpath:”表示类路径(src)
             也可以有子包 #  classspath:com/wuhao/applicationContext.xml
     -->
     <context-param>
         <param-name>contextConfigLocation</param-name>
         <param-value>classpath:applicationContext.xml</param-value>
     </context-param>
View Code
3、从ServletContext中获得spring容器,创建的容器已经放在ServletContext中了
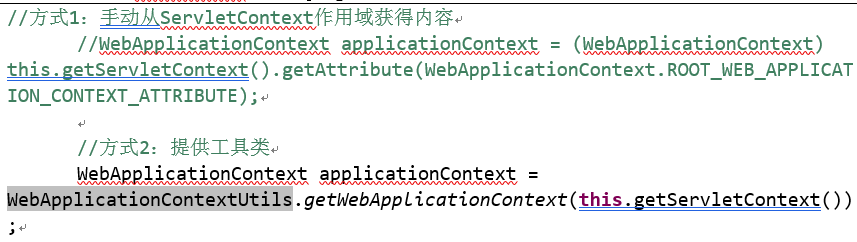


 //方式1:手动从ServletContext作用域获得内容
         //WebApplicationContext applicationContext = (WebApplicationContext) this.getServletContext().getAttribute(WebApplicationContext.ROOT_WEB_APPLICATION_CONTEXT_ATTRIBUTE);

         //方式2:提供工具类
         WebApplicationContext applicationContext = WebApplicationContextUtils.getWebApplicationContext(this.getServletContext());
View Code
二、SSH整合所用到的jar包
2.1、struts2所需jar
版本:2.3.15.1
位置:struts-2.3.15.1\apps\struts2-blank\WEB-INF\lib
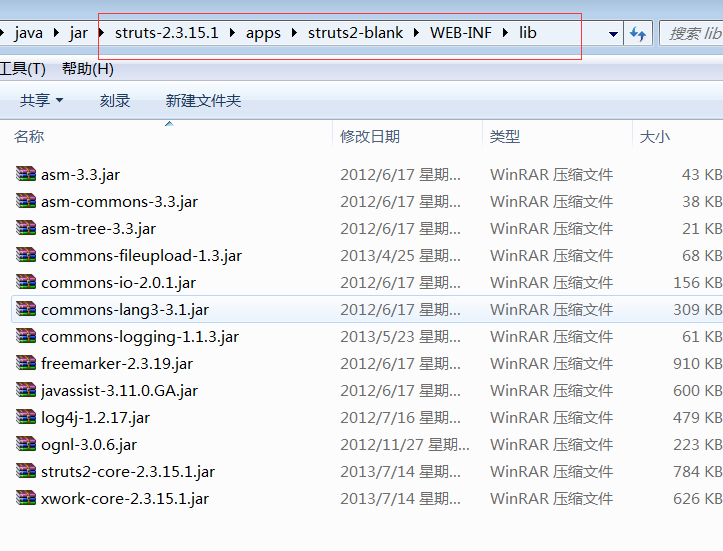
总共:13个jar包
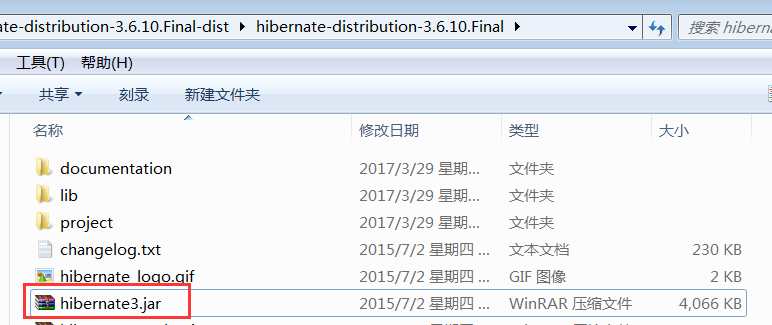
2.2、hibernate
版本:3.6.10
所需jar
1、核心jar:hibernate3.jar
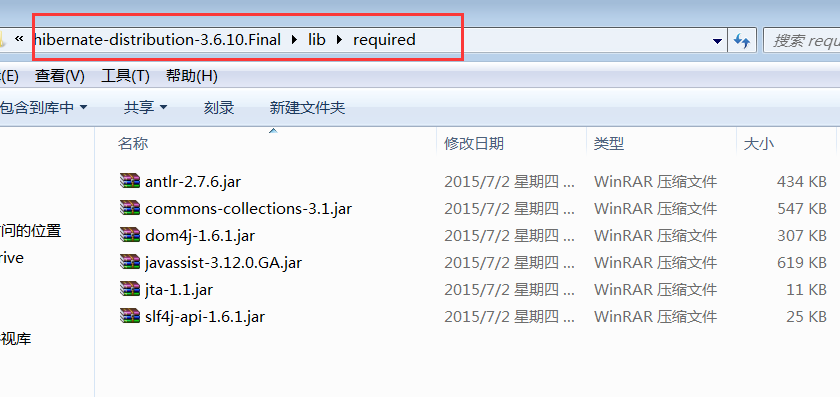
2、必须:lib/required 所有
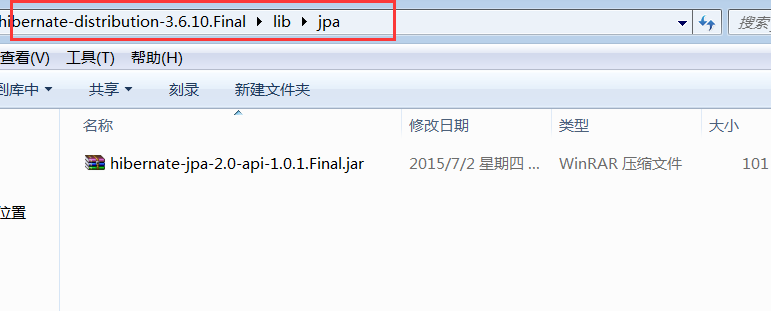
3、jpa :lib\jpa 所有
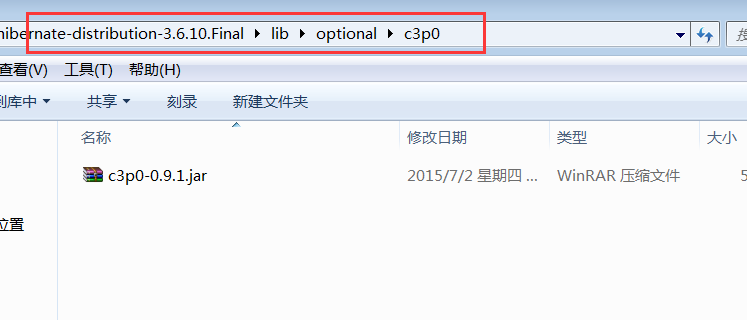
4、c3p0 \lib\optional\c3p0
5、 log4j 整合jar slf4j-log4j12-1.7.2.jar
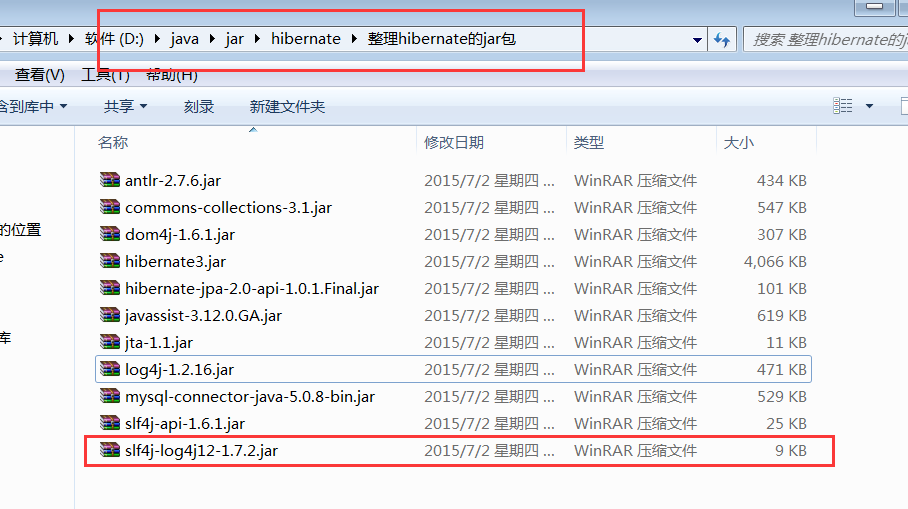
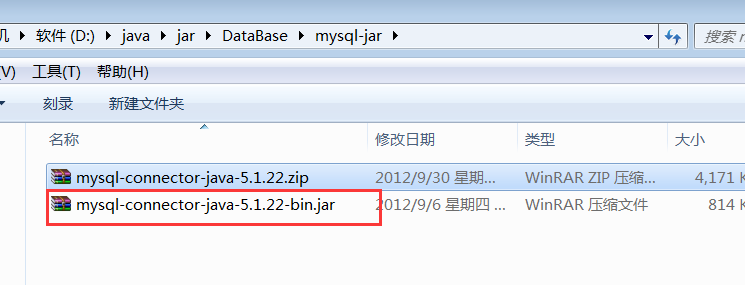
6、mysql驱动包 mysql-connector-java-5.1.22-bin.jar
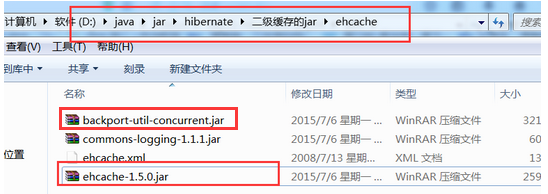
7、二级缓存 ehcache-1.5.0.jar 、backport-util-concurrent.jar 原本要导3个,logging包在前面struts包中有了,所以无需在导入
hibernate总共:13个jar包
2.3、spring
版本:3.2.0
jar包:
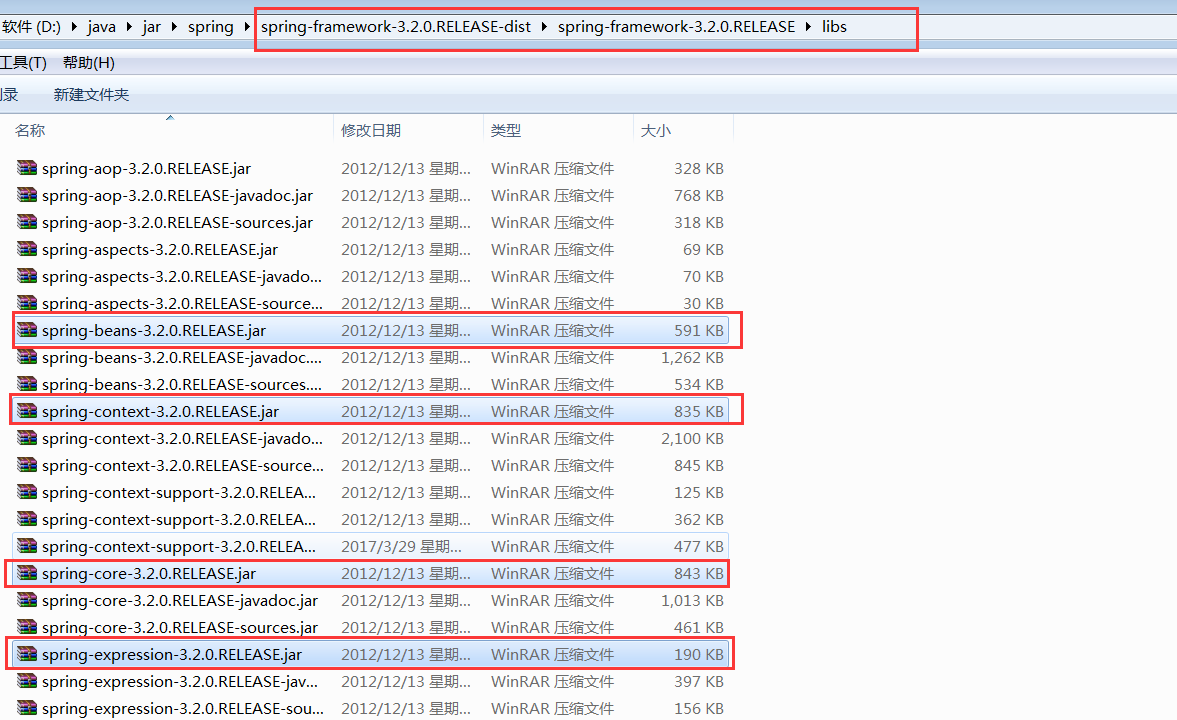
核心:4个(core、beans、expression、context) + commons-logging..jar(这个jar包在前面很多地方导入过,struts2、hibernate的二级缓存、spring都需要,只需要导一份即可)
aop:aop联盟、spring aop、aspectj、spring-aspect
aop联盟:spring-framework-3.0.2.RELEASE-dependencies\org.aopalliance\com.springsource.org.aopalliance\1.0.0
spring aop和spring-aspect:在核心包中
aspectj:spring-framework-3.0.2.RELEASE-dependencies\org.aspectj\com.springsource.org.aspectj.weaver\1.6.8.RELEASE
jdbc:2个 spring-jdbc、spring-tx
web:1个 spring-web
test:1个 spring-test (整合测试)
总共:12个
2.4、整合jar
spring3 整合hibernate3,spring提供整合jar : spring-orm…jar
struts2 整合 spring3 ,struts提供整合jar:struts2-spring-plugin-2.3.15.1.jar
位置:struts-2.3.15.1\lib
总共:2个
2.5、整理jar
前面拿到总共39个,去除一个重复的,剩下总共38个。
三、配置文件
3.1、hibernate
hibernate.cfg.xml 核心配置文件
*.hbm.xml 映射文件(domain)
3.2、spring
applicationContext.xml
jdbcInfo.properties
web.xml(ContextLoaderListener)
3.3、struts2
struts.xml
web.xml(前端过滤器 StrutsPrepareAndExecuteFilter)
四、spring整合hibernate
4.1、首先要了解hibernate的配置文件,和hibernate需要什么,然后如何将其让spring来管理。
hibernate.cfg.xml
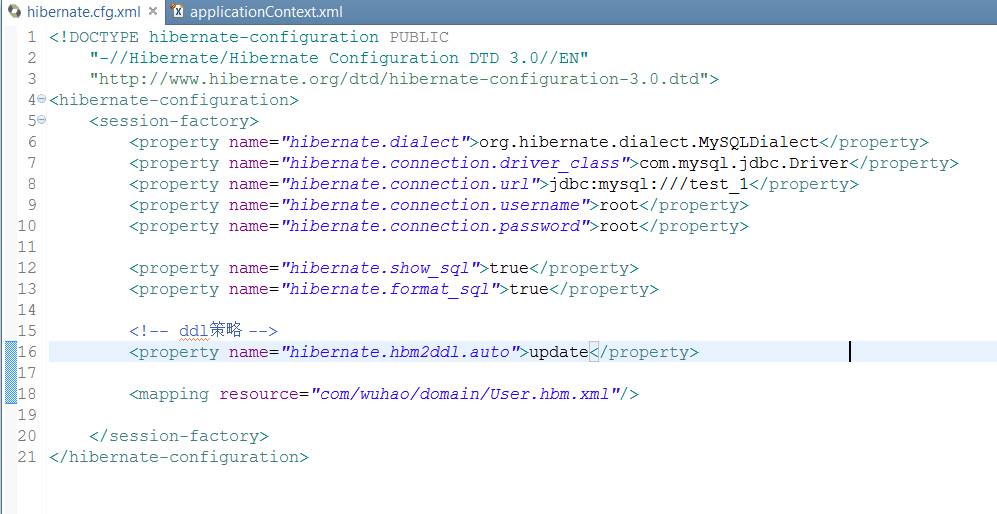
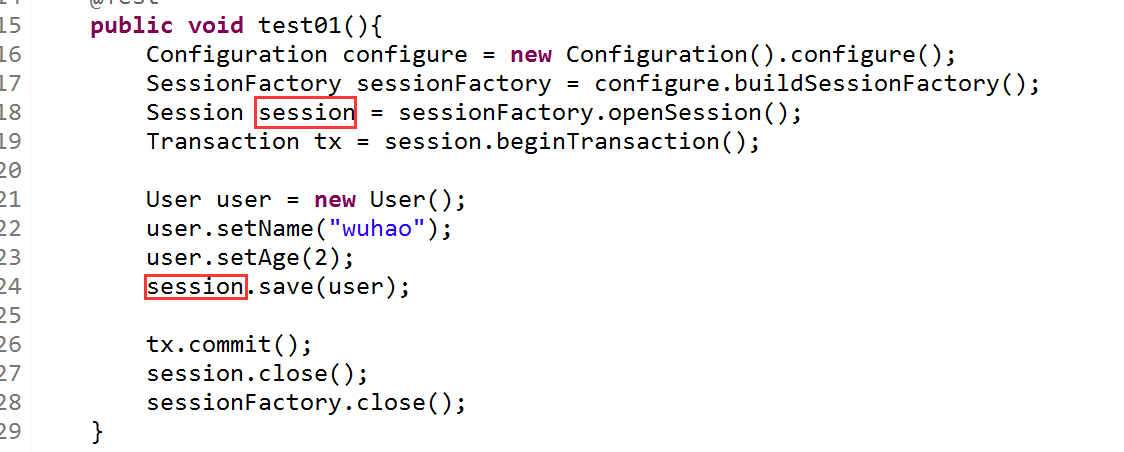
通过这两个图,可以知道,spring需要帮hibernate获取session,而获取session则先要获得sessionFactory,获取sessionFactory则需要加载配置文件。所以spring就需要提供两个东西,一个sessionFactory,一个session。spring如何做的呢?


<?xml version="1.0" encoding="UTF-8"?>
<beans xmlns="http://www.springframework.org/schema/beans"
xmlns:xsi="http://www.w3.org/2001/XMLSchema-instance"
xsi:schemaLocation="
http://www.springframework.org/schema/beans http://www.springframework.org/schema/beans/spring-beans.xsd">
<!-- 配置数据源 c3p0,-->
<bean id="dataSource" class="com.mchange.v2.c3p0.ComboPooledDataSource">
<property name="driverClass" value="com.mysql.jdbc.Driver"></property>
<property name="jdbcUrl" value="jdbc:mysql://localhost:3306/test_1"></property>
<property name="user" value="root"></property>
<property name="password" value="root"></property>
</bean>
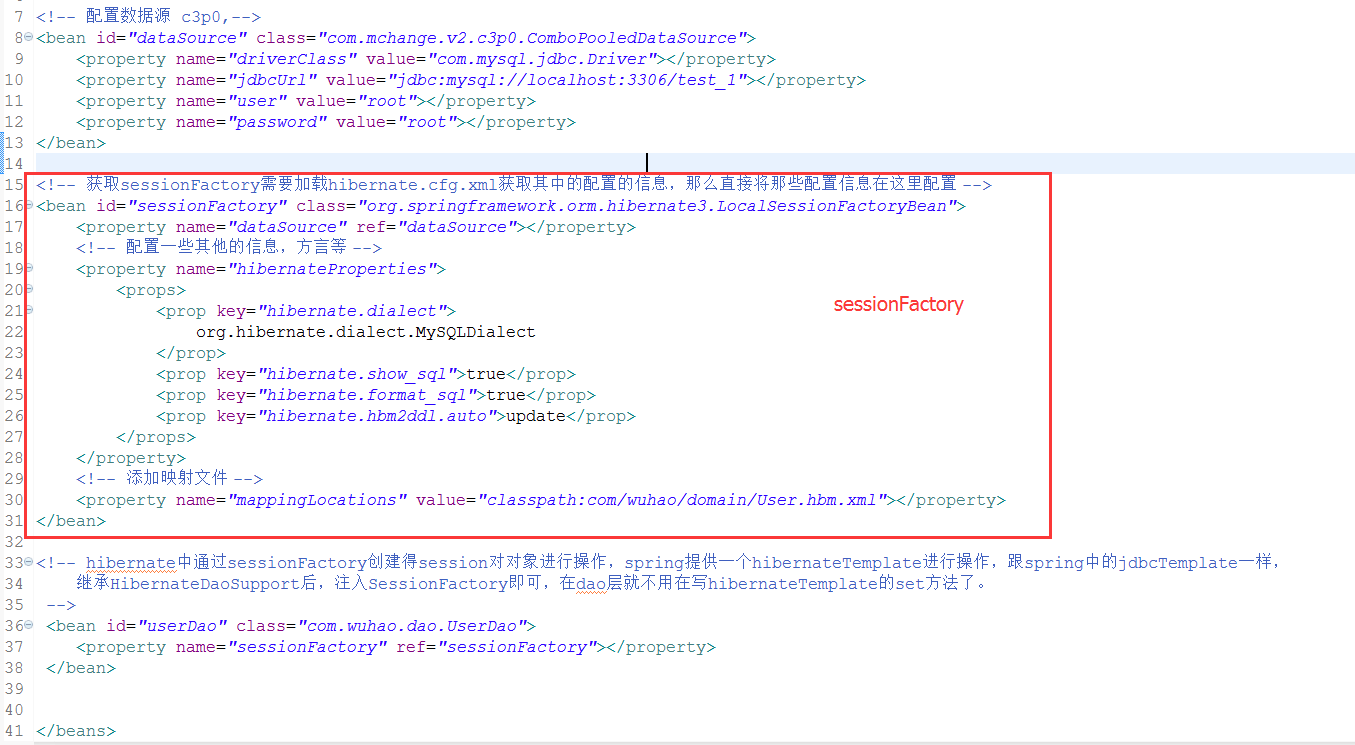
<!-- 获取sessionFactory需要加载hibernate.cfg.xml获取其中的配置的信息,那么直接将那些配置信息在这里配置 -->
<bean id="sessionFactory" class="org.springframework.orm.hibernate3.LocalSessionFactoryBean">
<property name="dataSource" ref="dataSource"></property>
<!-- 配置一些其他的信息,方言等 -->
<property name="hibernateProperties">
<props>
<prop key="hibernate.dialect">
org.hibernate.dialect.MySQLDialect
</prop>
<prop key="hibernate.show_sql">true</prop>
<prop key="hibernate.format_sql">true</prop>
<prop key="hibernate.hbm2ddl.auto">update</prop>
</props>
</property>
<!-- 添加映射文件 -->
<property name="mappingLocations" value="classpath:com/wuhao/domain/User.hbm.xml"></property>
</bean>
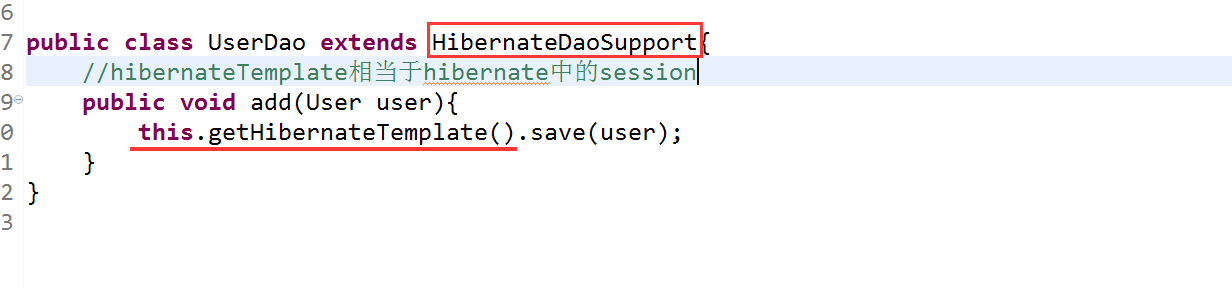
<!-- hibernate中通过sessionFactory创建得session对对象进行操作,spring提供一个hibernateTemplate进行操作,跟spring中的jdbcTemplate一样,
继承HibernateDaoSupport后,注入SessionFactory即可,在dao层就不用在写hibernateTemplate的set方法了。
-->
<bean id="userDao" class="com.wuhao.dao.UserDao">
<property name="sessionFactory" ref="sessionFactory"></property>
</bean>
</beans>
View Code
使用:
这样一来,就可以将hibernte.cfg.xml给删除掉了。
还有一个问题,事务的处理。
简单,之前一篇文章我们就讲解了spring如何进行事务管理的,那时候使用的是jdbc管理器,现在换一个即可,使用hibernate事务管理器
所以整合完hibernate后,spring的配置文件就成了这样


<?xml version="1.0" encoding="UTF-8"?>
<beans xmlns="http://www.springframework.org/schema/beans"
xmlns:xsi="http://www.w3.org/2001/XMLSchema-instance"
xmlns:aop="http://www.springframework.org/schema/aop"
xmlns:tx="http://www.springframework.org/schema/tx"
xsi:schemaLocation="http://www.springframework.org/schema/beans
http://www.springframework.org/schema/beans/spring-beans.xsd
http://www.springframework.org/schema/aop
http://www.springframework.org/schema/aop/spring-aop.xsd
http://www.springframework.org/schema/tx
http://www.springframework.org/schema/tx/spring-tx.xsd">
<!-- hibernate -->
<!-- 配置数据源 c3p0,-->
<bean id="dataSource" class="com.mchange.v2.c3p0.ComboPooledDataSource">
<property name="driverClass" value="com.mysql.jdbc.Driver"></property>
<property name="jdbcUrl" value="jdbc:mysql://localhost:3306/test_1"></property>
<property name="user" value="root"></property>
<property name="password" value="root"></property>
</bean>
<!-- 获取sessionFactory需要加载hibernate.cfg.xml获取其中的配置的信息,那么直接将那些配置信息在这里配置 -->
<bean id="sessionFactory" class="org.springframework.orm.hibernate3.LocalSessionFactoryBean">
<property name="dataSource" ref="dataSource"></property>
<!-- 配置一些其他的信息,方言等 -->
<property name="hibernateProperties">
<props>
<prop key="hibernate.dialect">
org.hibernate.dialect.MySQLDialect
</prop>
<prop key="hibernate.show_sql">true</prop>
<prop key="hibernate.format_sql">true</prop>
<prop key="hibernate.hbm2ddl.auto">update</prop>
</props>
</property>
<!-- 添加映射文件 -->
<property name="mappingLocations" value="classpath:com/wuhao/domain/User.hbm.xml"></property>
</bean>
<!-- hibernate中通过sessionFactory创建得session对对象进行操作,spring提供一个hibernateTemplate进行操作,跟spring中的jdbcTemplate一样,
继承HibernateDaoSupport后,注入SessionFactory即可,在dao层就不用在写hibernateTemplate的set方法了。
-->
<bean id="userDao" class="com.wuhao.dao.UserDao">
<property name="sessionFactory" ref="sessionFactory"></property>
</bean>
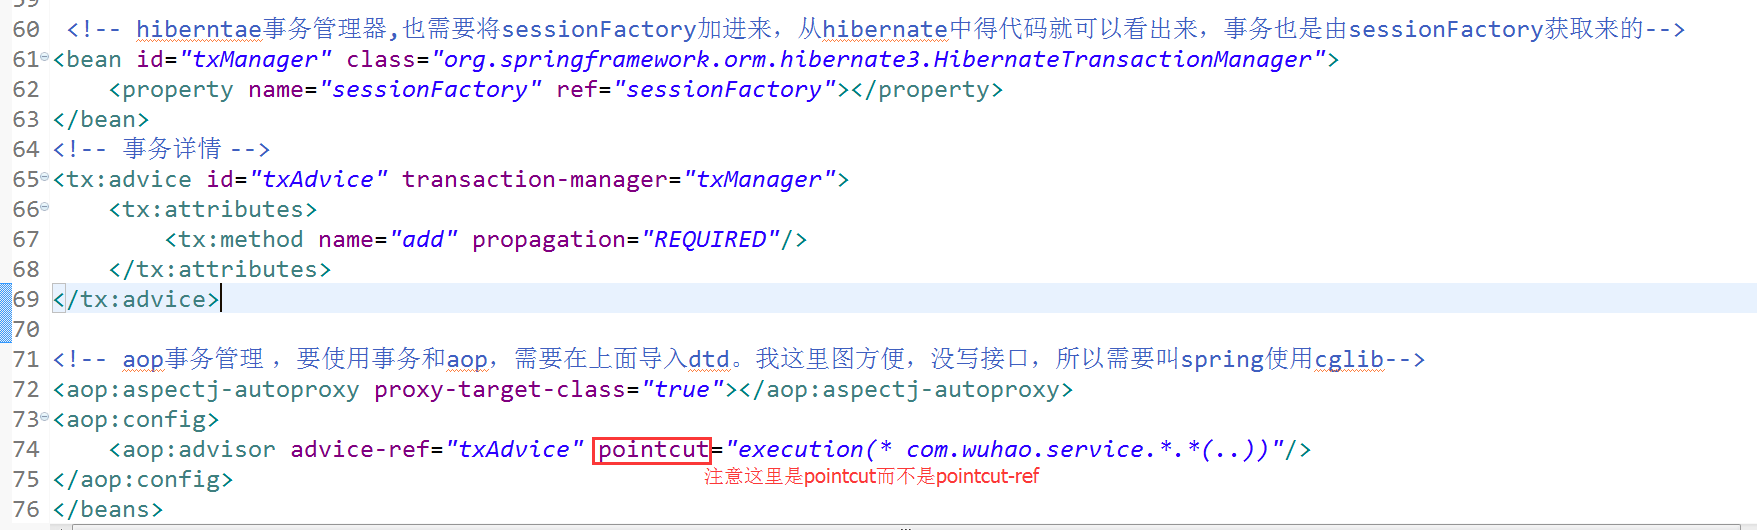
<!-- hiberntae事务管理器,也需要将sessionFactory加进来,从hibernate中得代码就可以看出来,事务也是由sessionFactory获取来的-->
<bean id="txManager" class="org.springframework.orm.hibernate3.HibernateTransactionManager">
<property name="sessionFactory" ref="sessionFactory"></property>
</bean>
<!-- 事务详情 -->
<tx:advice id="txAdvice" transaction-manager="txManager">
<tx:attributes>
<tx:method name="add" propagation="REQUIRED"/>
</tx:attributes>
</tx:advice>
<!-- aop事务管理 ,要使用事务和aop,需要在上面导入dtd。我这里图方便,没写接口,所以需要叫spring使用cglib-->
<aop:aspectj-autoproxy proxy-target-class="true"></aop:aspectj-autoproxy>
<aop:config>
<aop:advisor advice-ref="txAdvice" pointcut="execution(* com.wuhao.service.*.*(..))"/>
</aop:config>
</beans>
View Code
总结:其实非常简单,一开始整合肯定毫无头绪,不知道从哪里下手,那么就先将一个最简单的hibernate操作对象的小demo写出来,看看hibernate需要什么,然后spring就配置什么,给什么。这样就简单明了了。
五、struts2整合spring
5.1、struts2自己创建action。而不用spring帮我们创建
struts.xml

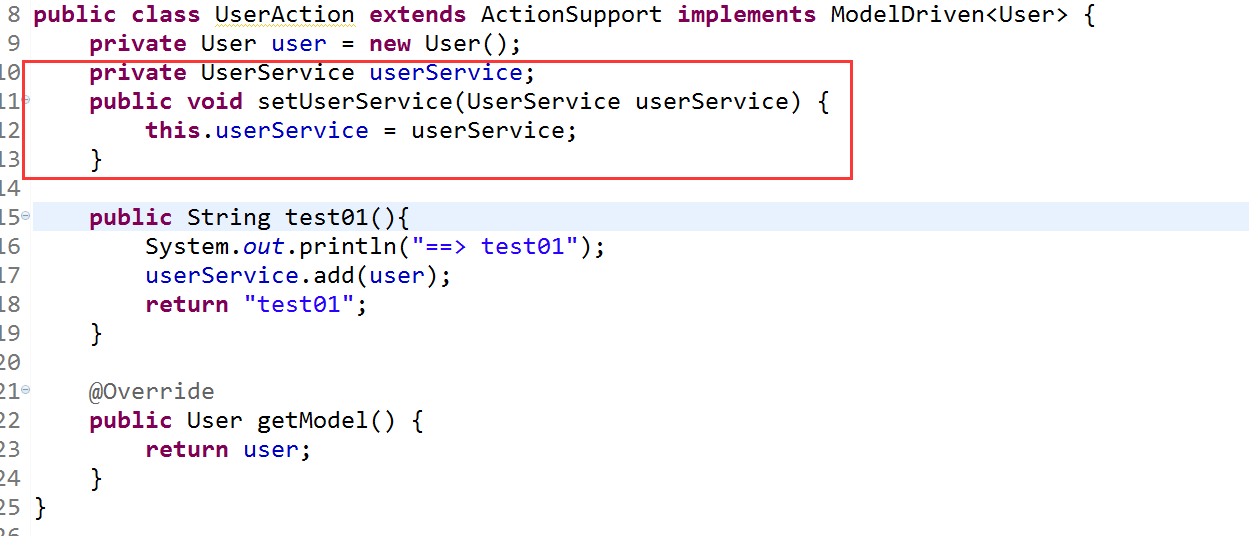
action中userService对象的创建就需要让spring帮我们创建
applicationContext.xml
这样,就可以了。
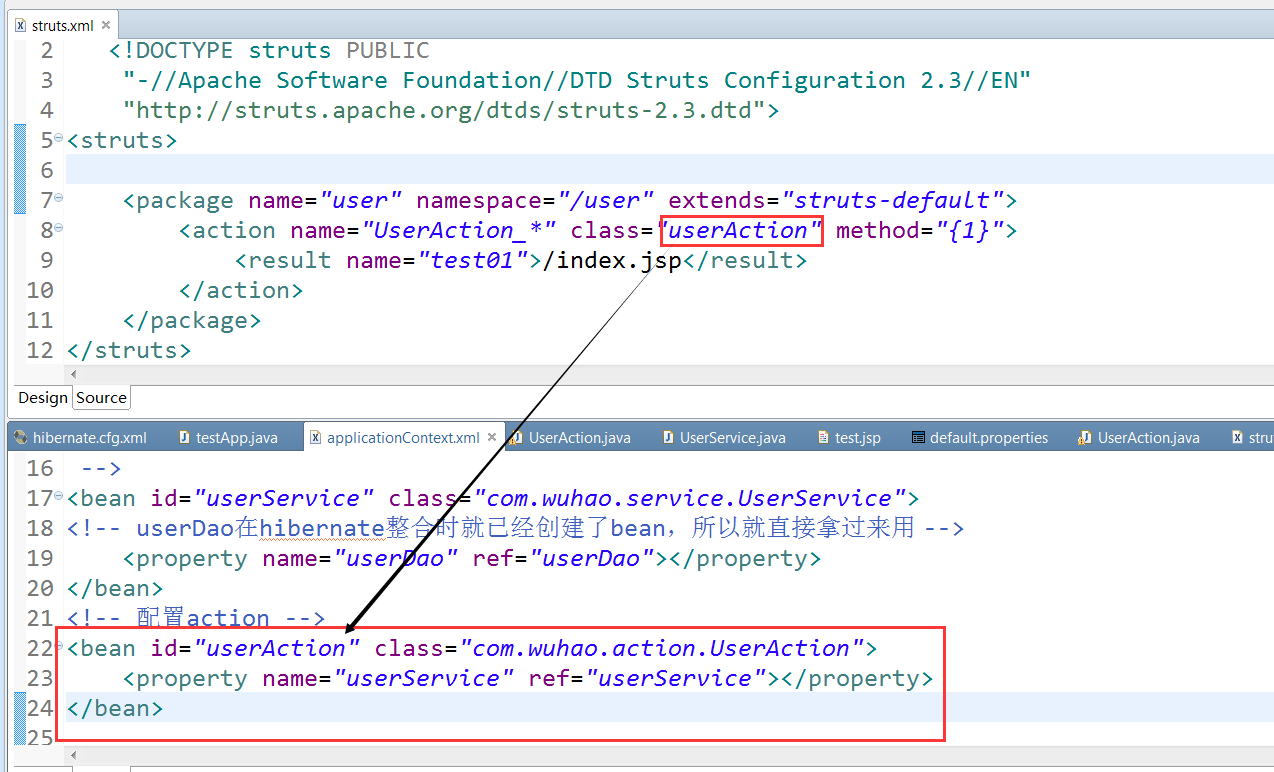
5.2、spring帮我们创建action,struts2什么也不用做了。‘
前提:需要导入struts-spring-plugin…jar
全部整合完后的applicationContext.xml


<?xml version="1.0" encoding="UTF-8"?>
<beans xmlns="http://www.springframework.org/schema/beans"
xmlns:xsi="http://www.w3.org/2001/XMLSchema-instance"
xmlns:aop="http://www.springframework.org/schema/aop"
xmlns:tx="http://www.springframework.org/schema/tx"
xsi:schemaLocation="http://www.springframework.org/schema/beans
http://www.springframework.org/schema/beans/spring-beans.xsd
http://www.springframework.org/schema/aop
http://www.springframework.org/schema/aop/spring-aop.xsd
http://www.springframework.org/schema/tx
http://www.springframework.org/schema/tx/spring-tx.xsd">
<!-- struts2自己创建Action的配置,就不需要21到24行的代码,如果是spring创建action,则需要 -->
<!--
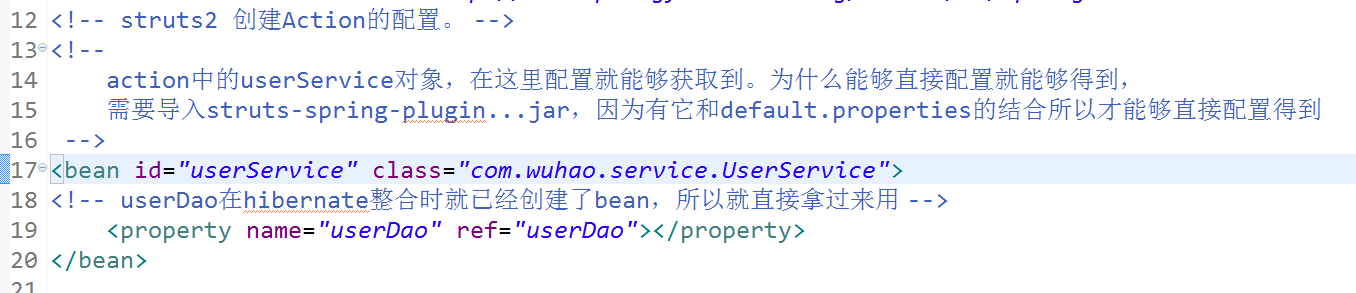
action中的userService对象,在这里配置就能够获取到。为什么能够直接配置就能够得到,
需要导入struts-spring-plugin...jar,因为有它和default.properties的结合所以才能够直接配置得到
-->
<bean id="userService" class="com.wuhao.service.UserService">
<!-- userDao在hibernate整合时就已经创建了bean,所以就直接拿过来用 -->
<property name="userDao" ref="userDao"></property>
</bean>
<!-- 配置action -->
<bean id="userAction" class="com.wuhao.action.UserAction">
<property name="userService" ref="userService"></property>
</bean>
<!-- hibernate -->
<!-- 配置数据源 c3p0,-->
<bean id="dataSource" class="com.mchange.v2.c3p0.ComboPooledDataSource">
<property name="driverClass" value="com.mysql.jdbc.Driver"></property>
<property name="jdbcUrl" value="jdbc:mysql://localhost:3306/test_1"></property>
<property name="user" value="root"></property>
<property name="password" value="root"></property>
</bean>
<!-- 获取sessionFactory需要加载hibernate.cfg.xml获取其中的配置的信息,那么直接将那些配置信息在这里配置 -->
<bean id="sessionFactory" class="org.springframework.orm.hibernate3.LocalSessionFactoryBean">
<property name="dataSource" ref="dataSource"></property>
<!-- 配置一些其他的信息,方言等 -->
<property name="hibernateProperties">
<props>
<prop key="hibernate.dialect">
org.hibernate.dialect.MySQLDialect
</prop>
<prop key="hibernate.show_sql">true</prop>
<prop key="hibernate.format_sql">true</prop>
<prop key="hibernate.hbm2ddl.auto">update</prop>
</props>
</property>
<!-- 添加映射文件 -->
<property name="mappingLocations" value="classpath:com/wuhao/domain/User.hbm.xml"></property>
</bean>
<!-- hibernate中通过sessionFactory创建得session对对象进行操作,spring提供一个hibernateTemplate进行操作,跟spring中的jdbcTemplate一样,
继承HibernateDaoSupport后,注入SessionFactory即可,在dao层就不用在写hibernateTemplate的set方法了。
-->
<bean id="userDao" class="com.wuhao.dao.UserDao">
<property name="sessionFactory" ref="sessionFactory"></property>
</bean>
<!-- hiberntae事务管理器,也需要将sessionFactory加进来,从hibernate中得代码就可以看出来,事务也是由sessionFactory获取来的-->
<bean id="txManager" class="org.springframework.orm.hibernate3.HibernateTransactionManager">
<property name="sessionFactory" ref="sessionFactory"></property>
</bean>
<!-- 事务详情 -->
<tx:advice id="txAdvice" transaction-manager="txManager">
<tx:attributes>
<tx:method name="add" propagation="REQUIRED"/>
</tx:attributes>
</tx:advice>
<!-- aop事务管理 ,要使用事务和aop,需要在上面导入dtd。我这里图方便,没写接口,所以需要叫spring使用cglib-->
<aop:aspectj-autoproxy proxy-target-class="true"></aop:aspectj-autoproxy>
<aop:config>
<aop:advisor advice-ref="txAdvice" pointcut="execution(* com.wuhao.service.*.*(..))"/>
</aop:config>
</beans>
View Code
六、总结
那么到这里,手动整合ssh就结束了,其实非常简单,一步步来,从导包到整合hibernate在整合struts的步骤进行,那么就可以成功整合了,上面所有的我都没有采用接口编程,为了方便,日后注意一下这点即可。非常简单。
但是在整合hibernate时,我们的你domain都映射文件都是自己手动编写的,实际开发中肯定不需要一个个手动编写,因为是先有数据库,然后在来写你domain,所以之后会说到通过反转引擎根据数据库中的表来创建domain和映射文件。