一、Eclipse搭建hibernate开发环境
1、导包:
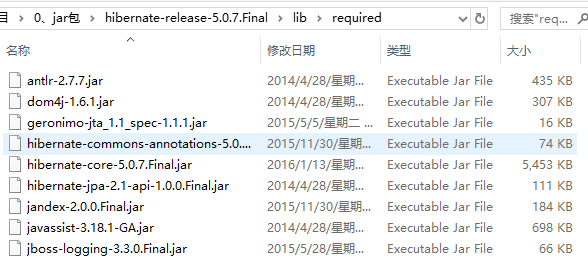
(1)required文件夹下的jar包都需要导入:
(2)mysql驱动包:

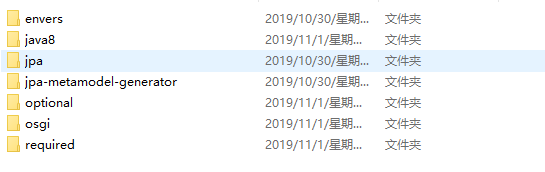
(3)jpa目录下的jar包:

(4)日志jar包:
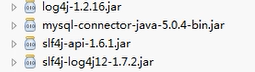
因为hibernate在使用的时候会有日志信息的输出,而hibernate本身没有日志输出的功能,因此要导入jar包。
2、创建实体类
package pers.zhb.domain;
public class Student {
    private String studentno;
    private String sname;
    private String sex;
    private String birthday;
    private String classno;
    private float point;
    private String phone;
    private String email;

    @Override
    public String toString() {
        return "Student{" +
                "studentno='" + studentno + '\'' +
                ", sname='" + sname + '\'' +
                ", sex='" + sex + '\'' +
                ", birthday='" + birthday + '\'' +
                ", classno='" + classno + '\'' +
                ", point=" + point +
                ", phone='" + phone + '\'' +
                ", email='" + email + '\'' +
                '}';
    }

    public String getStudentno() {
        return studentno;
    }

    public void setStudentno(String studentno) {
        this.studentno = studentno;
    }

    public String getSname() {
        return sname;
    }

    public void setSname(String sname) {
        this.sname = sname;
    }

    public String getSex() {
        return sex;
    }

    public void setSex(String sex) {
        this.sex = sex;
    }

    public String getBirthday() {
        return birthday;
    }

    public void setBirthday(String birthday) {
        this.birthday = birthday;
    }

    public String getClassno() {
        return classno;
    }

    public void setClassno(String classno) {
        this.classno = classno;
    }

    public float getPoint() {
        return point;
    }

    public void setPoint(float point) {
        this.point = point;
    }

    public String getPhone() {
        return phone;
    }

    public void setPhone(String phone) {
        this.phone = phone;
    }

    public String getEmail() {
        return email;
    }

    public void setEmail(String email) {
        this.email = email;
    }
}
在创建类的时候一定要注意:要创建一个类似于表的主键的属性,用于唯一标识一个实体。
3、通过配置文件实现实体类和数据库表的对应关系(表对应,实体属性与表的字段)
(1)引入dtd约束(https://tech.souyunku.com/zhai1997/p/11439664.html):

在上面的文件中复制如下约束:
<!DOCTYPE hibernate-mapping PUBLIC
        "-//Hibernate/Hibernate Mapping DTD 3.0//EN"
        "http://www.hibernate.org/dtd/hibernate-mapping-3.0.dtd">
创建xml文件,在实体类对应的包里面创建,文件名:hbm.xml(不是固定的)。
(2)创建实体类与表的对应关系:
<?xml version="1.0" encoding="UTF-8"?>
<!DOCTYPE hibernate-mapping PUBLIC
        "-//Hibernate/Hibernate Mapping DTD 3.0//EN"
        "http://www.hibernate.org/dtd/hibernate-mapping-3.0.dtd">
<hibernate-mapping>
    <class name="pers.zhb.domain.Student" table="student">
        <id name="studentno" column="studentno">
        <generator class="native"></generator>
        </id>
        <property name="birthday" column="birthday"></property>
        <property name="classno" column="classno"></property>
        <property name="email" column="email"></property>
        <property name="phone" column="phone"></property>
        <property name="sex" column="sex"></property>
        <property name="sname" column="sname"></property>
        <property name="point" column="point"></property>
    </class>
</hibernate-mapping>
(1)配置类和表对应:
<class name="pers.zhb.domain.Student" table="student">
其中类为全路径,表为表的名字。
(2)实体类中的保持唯一的属性和表的主键保持对应:
<id name="studentno" column="studentno">
        <generator class="native"></generator>
        </id>
设置主键为自动增长,name为实体类属性的名字,column为表的字段名称。
(3)设置其他属性实体类属性与表的字段的对应关系:
        <property name="birthday" column="birthday"></property>
        <property name="classno" column="classno"></property>
        <property name="email" column="email"></property>
        <property name="phone" column="phone"></property>
        <property name="sex" column="sex"></property>
        <property name="sname" column="sname"></property>
        <property name="point" column="point"></property>
4、核心配置文件:
(1)位置(src目录下)和名称(hibernate.cfg.xml)固定。
(2)引入约束:

<!DOCTYPE hibernate-configuration PUBLIC
    "-//Hibernate/Hibernate Configuration DTD 3.0//EN"
    "http://www.hibernate.org/dtd/hibernate-configuration-3.0.dtd">
(3)hibernate在执行过程中,只会加载核心配置文件,其它文件不会被加载。
(4)核心配置文件:
<?xml version="1.0" encoding="UTF-8"?>
<!DOCTYPE hibernate-configuration PUBLIC
        "-//Hibernate/Hibernate Configuration DTD 3.0//EN"
        "http://www.hibernate.org/dtd/hibernate-configuration-3.0.dtd">
<hibernate-configuration>
    <!--配置数据库信息-必须的-->
    <session-factory>
        <property name="hibernate.connection.driver_class">com.mysql.jdbc.Driver</property>
        <property name="hibernate.connection.url">jdbc:mysql://localhost:3306/stu_mangement</property>
        <property name="hibernate.connection.username">root</property>
        <property name="hibernate.connection.password">root</property>
        <!--配置hibernate信息-可选的-->
        <property name="hibernate.show_sql">true</property><!--输出底层sql语句-->
        <property name="hibernate.format_sql">true</property><!--格式化输出sql语句-->
        <property name="hibernate.hbm2ddl.auto">update</property><!--hibernate帮助创建表,如果已经有表更新表,
        如果没有则创建新表-->
        <property name="hibernate.dialect">org.hibernate.dialect.MySQL5Dialect</property>
        <!--配置数据库的方言,让hibernate识别框架自己的特有语句-->
        <!--把映射文件放到核心配置文件-->
        <mapping resource="pers/zhb/domain/Student.hbm.xml"/><!--都在src目录下-->
    </session-factory>
</hibernate-configuration>
5、通过hibernate实现对数据库的添加操作:
import org.hibernate.Session;
import org.hibernate.SessionFactory;
import org.hibernate.Transaction;
import org.hibernate.cfg.Configuration;
import pers.zhb.domain.Student;
class HinernateTest{
    public static void testAdd()  {
        //(1)加载hibernate核心配置文件
        //src目录下的配置文件名称是固定的:hibernate.cfg.xml
        Configuration configuration= new Configuration();
        configuration.configure();
        //(2)读取hibernate核心配置文件的内容,创建sessionFactory对象,根据映射关系创建相应的表
        SessionFactory sessionFactory=configuration.buildSessionFactory();
        //(3)利用sessionFactory对象创建session对象
        //类似于创建连接
        Session session=sessionFactory.openSession();
        //(4)开启事务
        Transaction transaction=session.beginTransaction();
        //(5)具体操作
        Student student=new Student();
        student.setSname("zzzz");
        student.setSex("男");
        student.setBirthday("2019-11-11");
        student.setClassno("201911");
        student.setPoint(111);
        student.setPhone("1873496511");
        student.setEmail("20171514@qq.com");
        session.save(student);
        //(6)提交事务
        transaction.commit();
        //(7)关闭资源
        session.close();
        sessionFactory.close();
    }
    public static  void main(String []args){
        HinernateTest hinernateTest=new HinernateTest();
        hinernateTest.testAdd();
    }
}

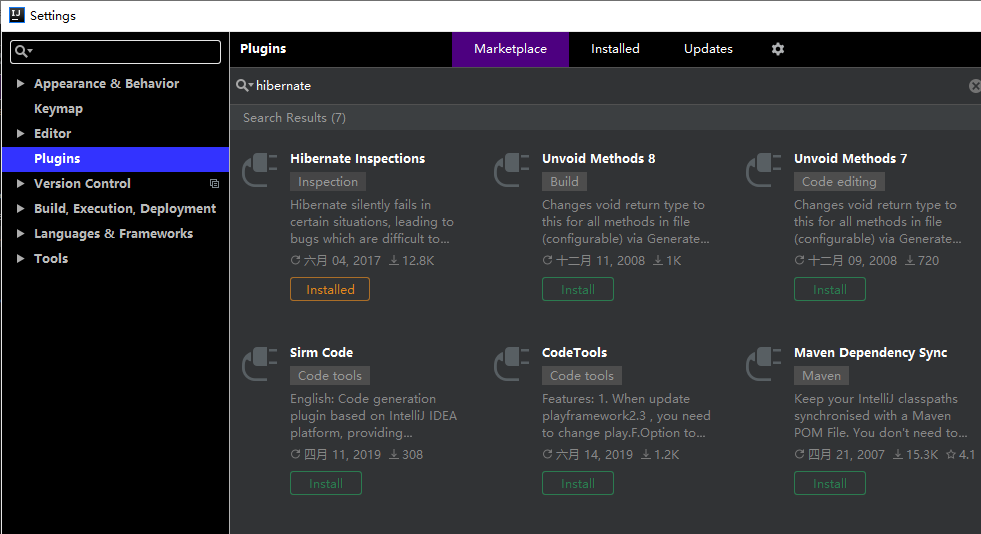
二、IDEA实现对hibernate的环境配置:
1、选择插件(file下的setting):
2、点击file后,新建:
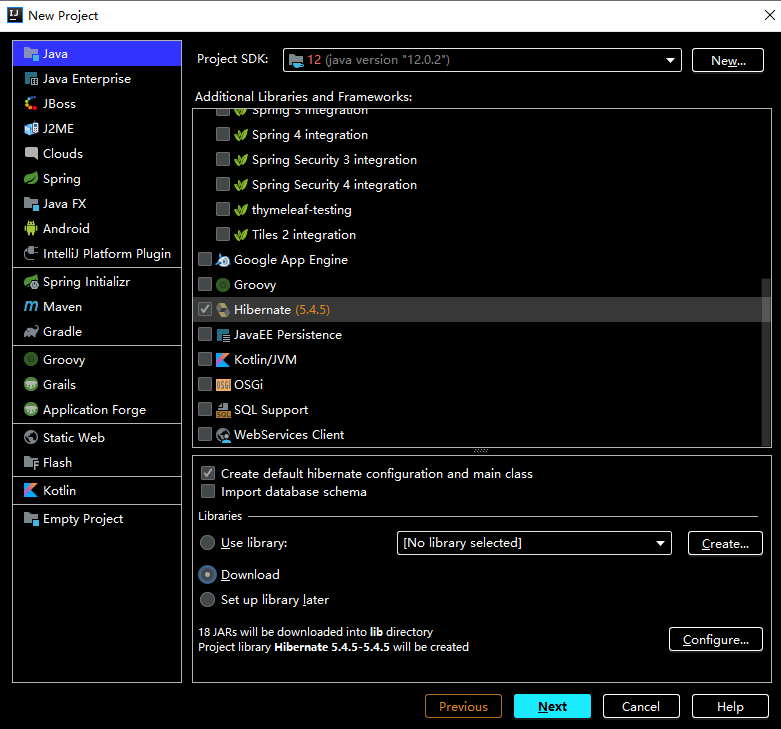
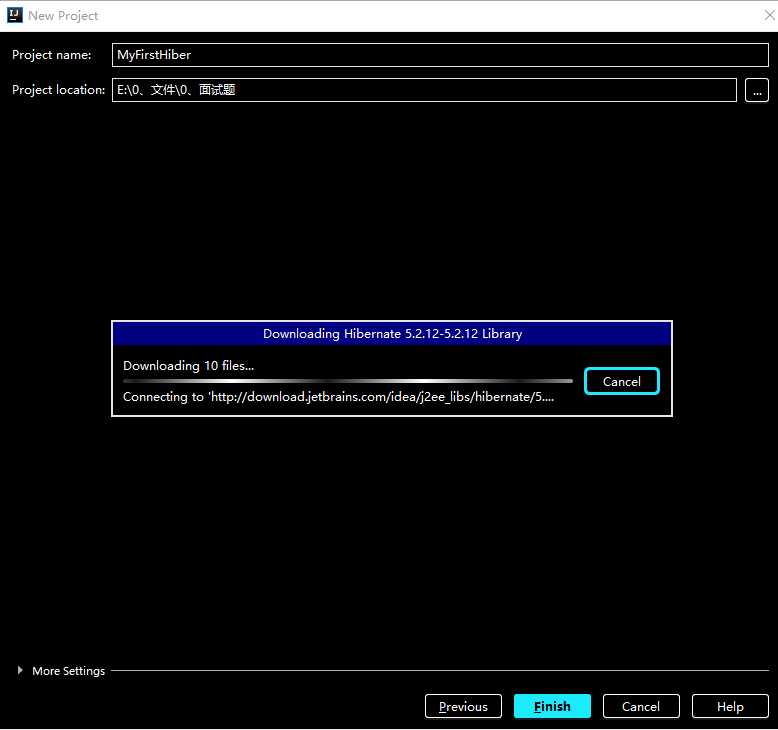
3、点击next后,输入项目名后开始下载hibernate相应的jar包,但是mysql的驱动包需要手动导入:
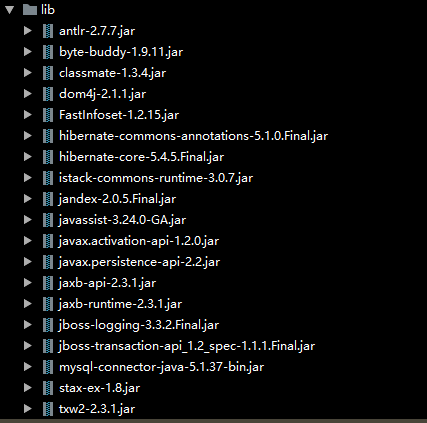
4、接下来就是配置映射文件、核心配置文件、书写操作数据库的代码。