Nexus 简介
Nexus 是一个强大的依赖仓库管理器,极大地简化了内部仓库的维护和外部仓库的访问。
2016 年 4 月 6 日 Nexus 3.0 版本发布,相较 2.x 版本 有了很大的改变:
- 对低层代码进行了大规模重构,提升性能,增加可扩展性以及改善用户体验。
- 升级界面,极大的简化了用户界面的操作和管理
- 提供新的安装包,让部署更加简单
- 提供新的管理接口,以及增强对自动任务的管理
安装 Nexus
- 创建
docker-compose.yml
    version: '3.1'
    services:
      nexus:
        restart: always
        image: sonatype/nexus3
        container_name: nexus
        ports:
          - 8081:8081
        volumes:
          - /usr/local/docker/nexus/data:/nexus-data
- 启动容器
$ docker-compose up -d
启动时如果出现权限问题需要赋予数据卷目录可读可写的权限
$ chmod 777 /usr/local/docker/nexus/data
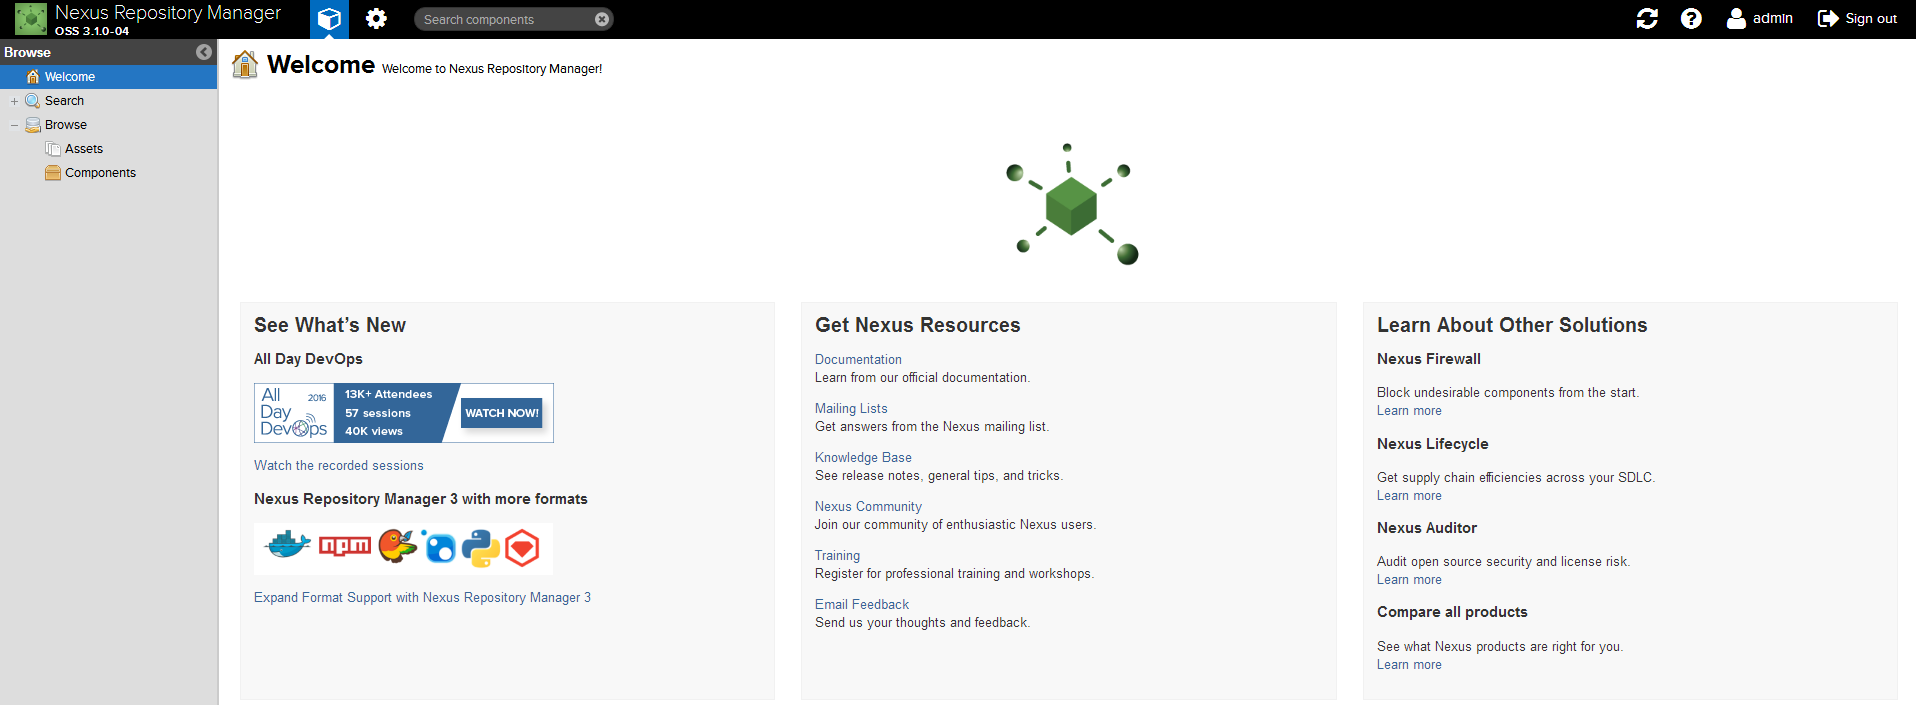
登录访问 Nexus 页面
访问 http://{ip}:8081
- 初始账号:admin
- 初始密码在
/usr/local/docker/nexus/data/admin.password文件中查看
Maven 配置 Nexus 认证信息
- 修改 Maven 安装目录
conf中的settings.xml - 在
servers节点下配置 Nexus 私库的账号密码:
    <server>
      <id>nexus-releases</id>
      <username>admin</username>
      <password>admin123</password>
    </server>

    <server>
      <id>nexus-snapshots</id>
      <username>admin</username>
      <password>admin123</password>
    </server>
项目中配置 Nexus
- 在 Maven 项目中的
pom.xml配置 Nexus 代理仓库
    <repositories>
        <repository>
            <id>nexus</id>
            <name>Nexus Repository</name>
            <url>http://{host}:{port}/repository/maven-public/</url>
            <snapshots>
                <enabled>true</enabled>
            </snapshots>
            <releases>
                <enabled>true</enabled>
            </releases>
        </repository>
    </repositories>
    <pluginRepositories>
        <pluginRepository>
            <id>nexus</id>
            <name>Nexus Plugin Repository</name>
            <url>http://{host}:{port}/repository/maven-public/</url>
            <snapshots>
                <enabled>true</enabled>
            </snapshots>
            <releases>
                <enabled>true</enabled>
            </releases>
        </pluginRepository>
    </pluginRepositories>
- 更新 Maven 配置,项目就可以从 Nexus 私服仓库拉取依赖了
从 Nexus 中拉取依赖
完成以上配置并刷新配置信息,即可从 Nexus 私库中拉取依赖
部署第三方依赖到 Nexus
mvn deploy
END
- 文章作者:彭超
- 本文首发于个人博客:https://antoniopeng.com/2020/03/08/docker/%E4%BD%BF%E7%94%A8DockerCompose%E6%90%AD%E5%BB%BANexus%E4%BE%9D%E8%B5%96%E7%A7%81%E6%9C%8D%E5%8F%8A%E4%BD%BF%E7%94%A8%E9%85%8D%E7%BD%AE/
- 版权声明:本博客所有文章除特别声明外,均采用 CC BY-NC-SA 4.0 许可协议。转载请注明来自 彭超 | Blog!