前言
比较实用的文章,(大牛请绕行),以前装Mysql容易出现一些报错,像
ERROR 1698 (28000): Access denied for user 'root'@'localhost'
今天专门来写一下总结,如何在Ubuntu18安装,配置,卸载Mysql5.7
配置步骤
1. 下载mysql5.7
在Ubuntu中,默认情况下,只有最新版本的MySQL包含在APT软件包存储库中,要安装它,只需更新服务器上的包索引并安装默认包apt-get。
sudo apt-get update
安装mysql
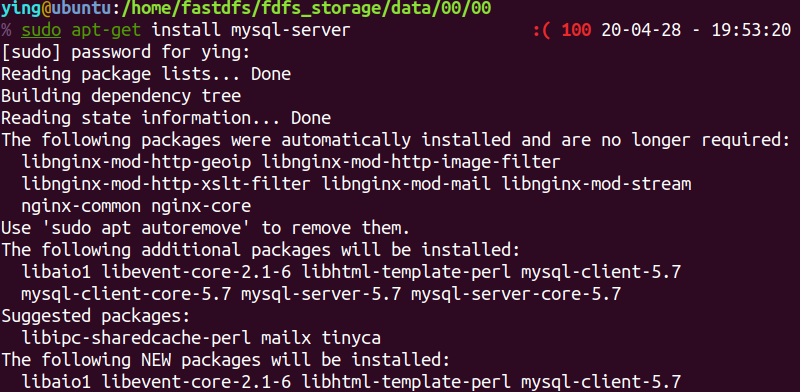
sudo apt-get install mysql-server
报错 Could not get lock /var/lib/apt/lists/lock 参考另一篇 解决apt update报错
2. 配置mysql
先配置一下,不着急登录
sudo mysql_secure_installation
#1
VALIDATE PASSWORD PLUGIN can be used to test passwords...
Press y|Y for Yes, any other key for No: N (我的选项)

#2
Please set the password for root here...
New password: (输入密码)
Re-enter new password: (重复输入)

#3
By default, a MySQL installation has an anonymous user,
allowing anyone to log into MySQL without having to have
a user account created for them...
Remove anonymous users? (Press y|Y for Yes, any other key for No) : N (我的选项)

#4
Normally, root should only be allowed to connect from
'localhost'. This ensures that someone cannot guess at
the root password from the network...
Disallow root login remotely? (Press y|Y for Yes, any other key for No) : Y (我的选项)

#5
By default, MySQL comes with a database named 'test' that
anyone can access...
Remove test database and access to it? (Press y|Y for Yes, any other key for No) : N (我的选项)

#6
Reloading the privilege tables will ensure that all changes
made so far will take effect immediately.
Reload privilege tables now? (Press y|Y for Yes, any other key for No) : Y (我的选项)
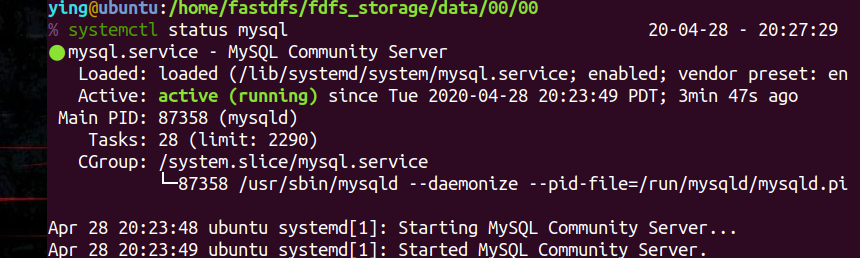
配置完成后,检查一下服务有没有正常启动 systemctl status mysql.service
3. 配置远程访问
在Ubuntu下MySQL缺省是只允许本地访问的,使用workbench连接工具是连不上的;
如果你要其他机器也能够访问的话,需要进行配置;
# 用sudo的方式,以root用户登录mysql
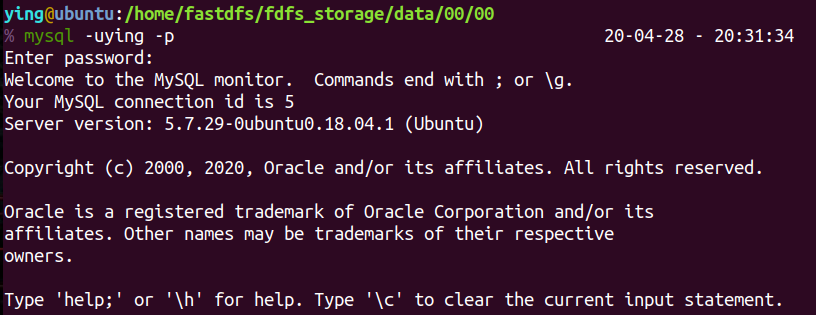
sudo mysql -uroot -p
# 更改权限
GRANT ALL PRIVILEGES ON *.* TO 'username'@'%' IDENTIFIED BY 'password';
修改mysql配置文件 sudo vim /etc/mysql/mysql.conf.d/mysqld.cnf
找到bind-address = 127.0.0.1 修改为 bind-address = 0.0.0.0
重启systemctl restart mysql
开放3306端口,服务器需要配置安全组规则,有防火墙需要开放3306
sudo ufw allow 3306
4. 新建数据库和用户
一般不会以root直接操作mysql,新建一个用户并设置权限
##1 创建数据库yingDb
CREATE DATABASE yingDb;##2 创建用户ying(密码newman123) 并允许ying用户可以从任意机器上登入mysql的所有数据库GRANT ALL PRIVILEGES ON *.* TO ying@"%" IDENTIFIED BY "newman123";
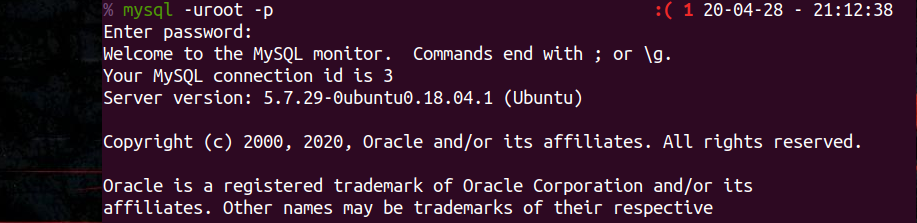
测试一下,成功登录!!
其他
1. 卸载mysql
sudo apt-get autoremove --purge mysql-server
sudo apt-get remove mysql-server
sudo apt-get autoremove mysql-server
sudo apt-get remove mysql-common
2. 解决登录拒绝报错
用root登录mysql mysql -uroot -p
报错:ERROR 1698 (28000): Access denied for user 'root'@'localhost'

如果报了上面的错,就用下面的方式解决
先用sudo mysql -uroot -p

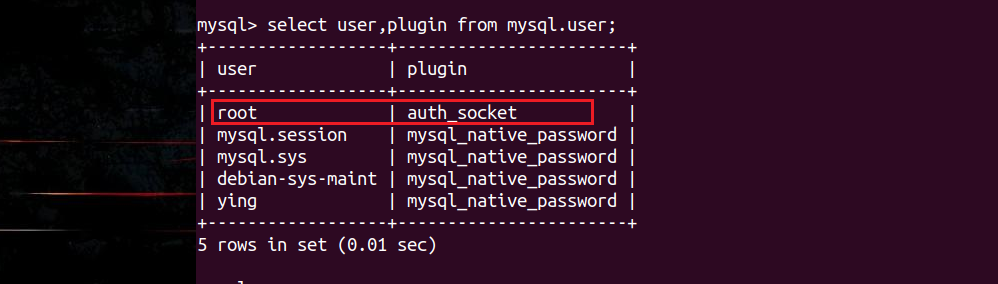
登录后,查看一下user表,错误的起因就是在这里, root的plugin被修改成了auth_socket,用密码登陆的plugin应该是mysql_native_password
select user,plugin from mysql.user;
update mysql.user set authentication_string=PASSWORD('[新的密码]'), plugin='mysql_native_password' where user='root';

flush privileges;
# 退出,重启mysql服务,注意!!!
sudo systemctl restart mysql
测试root登录,成功
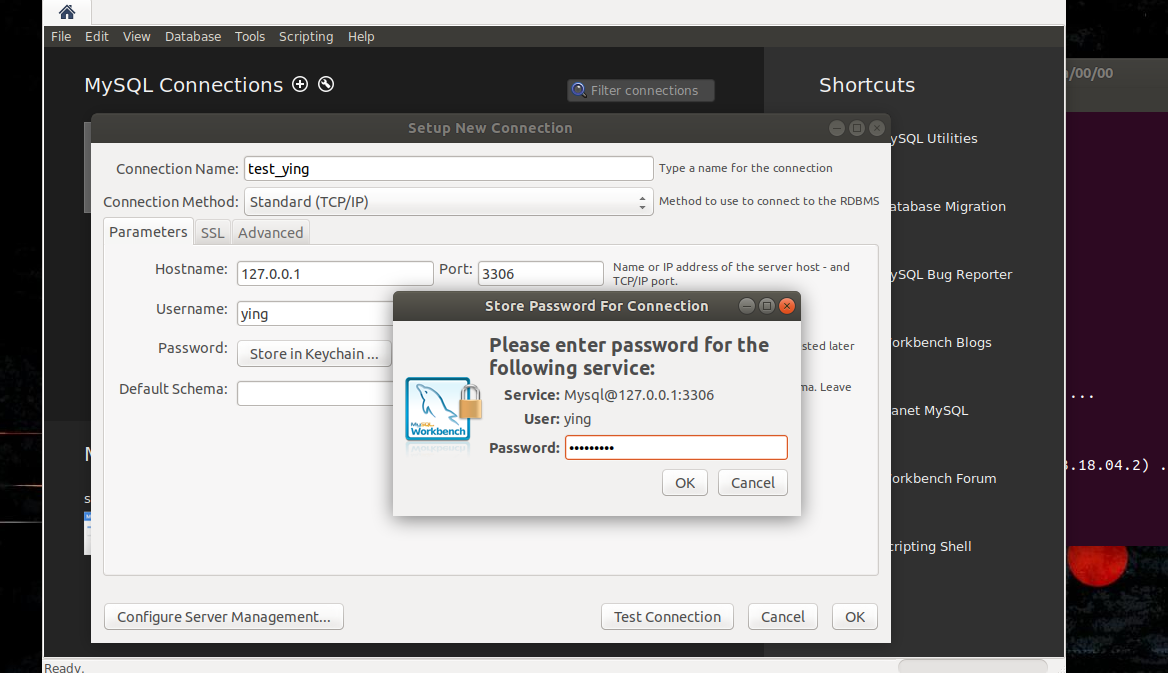
3. 使用workbench
sudo apt update
sudo apt install mysql-workbench
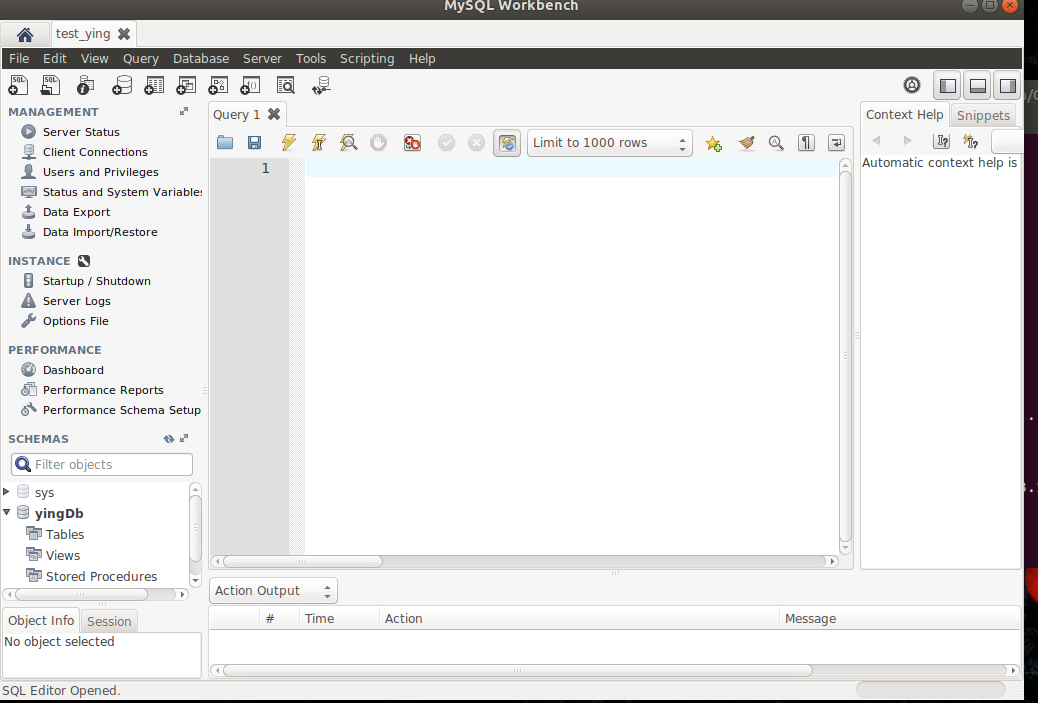
找到 workbench,建立连接
4. 修改mysql默认3306端口
登录mysql查看端口
show global variables like 'port';

修改mysql配置文件
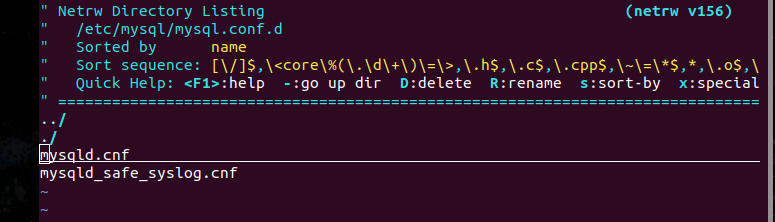
/etc/mysql 下面有好几个cnf conf.d这样的,笔者用mysql.conf.d

sudo vim mysql.conf.d
移动光标选择一下,回车

重启mysql服务
systemctl restart mysql
验证一下,修改成功!!
