nexus入门
本文以windows平台为基础搭建私服环境,运行在本机上。如在企业中使用,请移植到其他平台并更改对应的仓库地址。
服务搭建
1.下载
下载网址:www.sonatype.com/download-os…
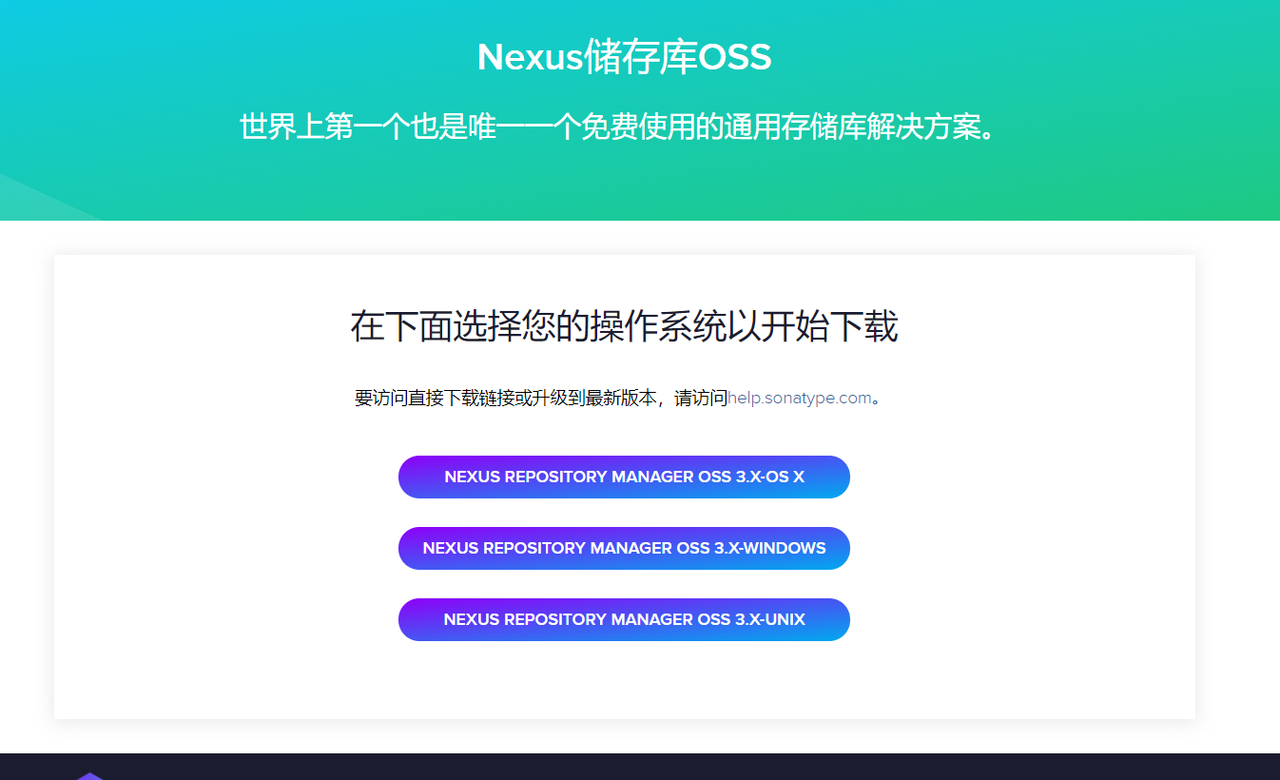
可选不同的操作系统,如果遇到下载很慢甚至打不开网页的情况,复制下载连接然后用迅雷下载。
2.安装
- windows点击直接解压下载包
- linux
tar -zxvf nexus-version,如需解压到指定位置,加上选项 如:-C /usr/lcoal
3.启动
- windows打开解压后文件的bin目录,打开命令提示符,执行
nexus.exe /run - linux到安装的bin目录,执行
./nexus start或者./nexus run,前者是后台运行,后者可以看到实时日志。如果提示NOT RECOMMENDED TO RUN AS ROOT,切换到其他用户然后启动即可。
4.使用
nexus默认端口是8081,所以我们直接访问localhost:8081,默认的用户名是admin,密码在安装目录的sonatype-work\nexus3\admin.password文件中。
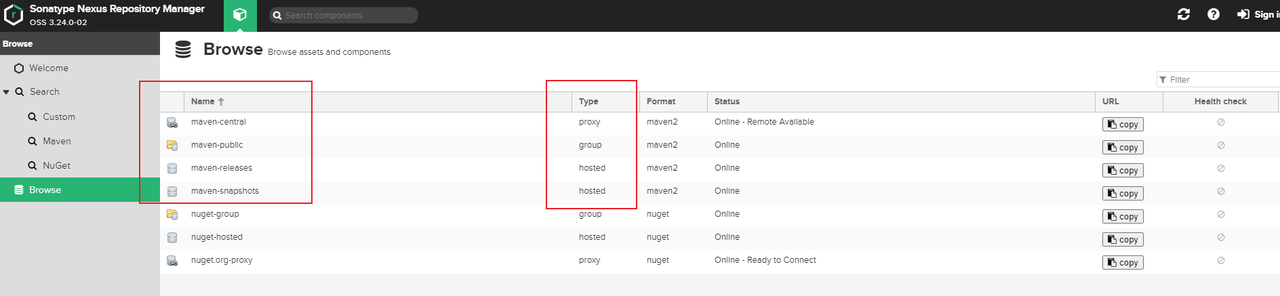
这是默认的几个仓库,不同的类型type:
- proxy:代理类型,如图是用来代理中央仓库的,例如我们依赖的包在本地仓库没有,就会到私服获取,私服没有的话,会到中央仓库先把包下载到这里,然后再下载到本地仓库。
- hosted:指的是我们公司或团队内部的包,并且 hosted 类型的仓库会分为 releases 和 snapshots 两个,前者是正式版,后者一般是开发测试版。
- group:它的目的就是把多个仓库组合起来,然后我们项目中只需要配置上这个类型的仓库地址,就可以把它里面组合的几个仓库都关联上。
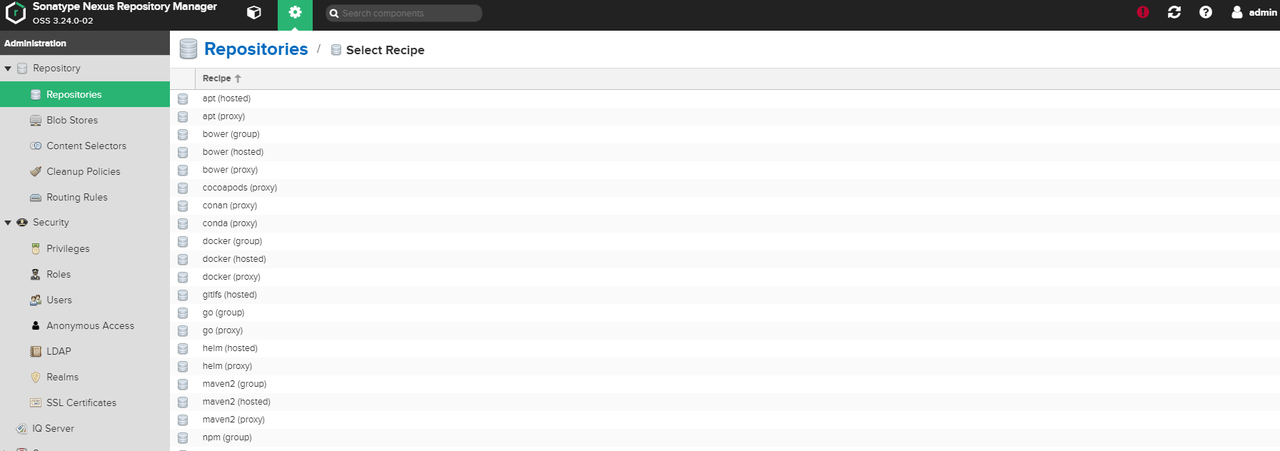
我们也可以自己创建不同类型的仓库:
默认的代理仓库代理的是中央仓库,因为这个仓库在过来,拉取文件很慢,所以我们可以把它换成其他的代理地址,比如阿里云的http://maven.aliyun.com/nexus/content/groups/public/。

maven-public仓库组合了其他几个仓库,我们在开发中使用这个仓库即可: 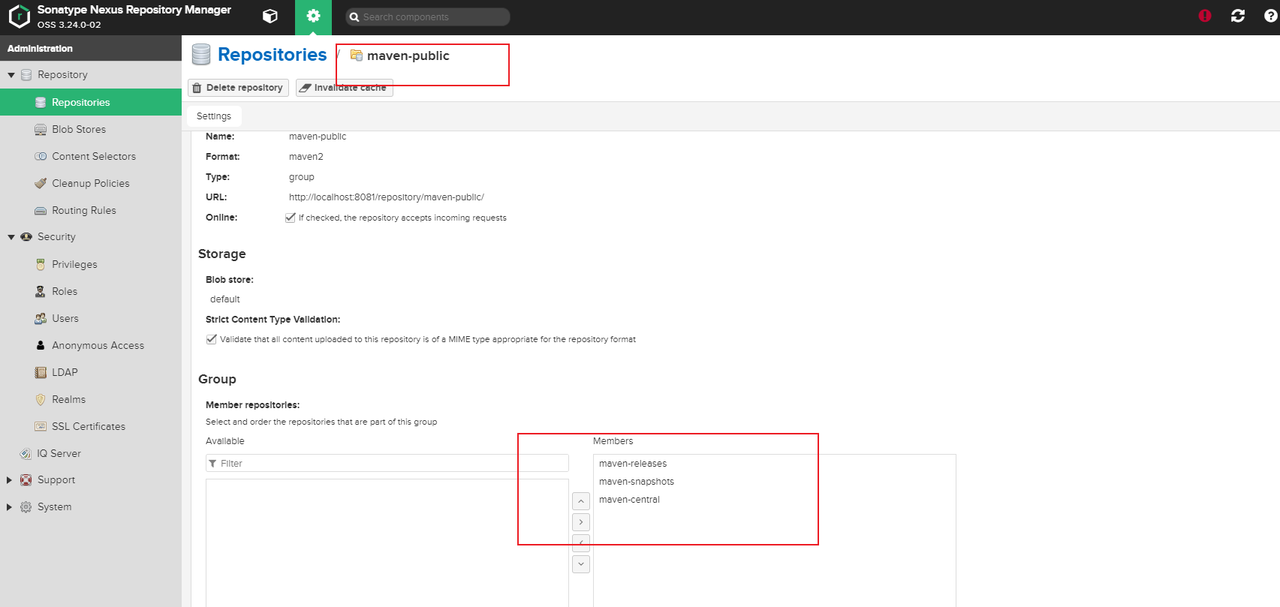
获取依赖包
我们搭建好私服之后,重要的功能就是要从这个仓库中拉取我们需要的jar包。
1.配置在pom.xml文件中
在pom.xml文件中添加以下代码:
<repositories>
        <repository>
            <id>maven-public</id>
            <name>maven-public</name>
            <url>http://localhost:8081/repository/maven-public/</url>
 <releases> <enabled>true</enabled> </releases> <snapshots> <enabled>true</enabled> </snapshots> </repository> </repositories>
可以配置多个repository节点,也就是可以配置多个仓库。
- id是仓库的唯一标识,要与仓库名称一致。
- url是仓库地址,可从仓库中拷贝过来。
- snapshots > enabled 表示是否支持下载快照版本的包。同理releases表示是否支持下载版本的包。
如果我们是父子工程,只需要在父工程里面配置即可。
2.配置在settings.xml文件中
当我们项目比较多的时候,每个项目都这样去配置就会比较麻烦,所以我们可以将这个配置放到本地使用的settings.xml中。
需要配置在<profiles> --- <profile>节点下面:
 <profiles>
        <profile>
            <id>local</id>
            <repositories>
                <repository>
 <id>maven-public</id> <name>maven-public</name> <url>http://localhost:8081/repository/maven-public/</url> <releases> <enabled>true</enabled> </releases> <snapshots> <enabled>true</enabled> </snapshots> </repository> </repositories> <pluginRepositories> <pluginRepository> <id>nexus-releases</id> <url>http://repo1.maven.org/maven2/</url> <releases> <enabled>true</enabled> </releases> <snapshots> <enabled>true</enabled> <updatePolicy>always</updatePolicy> </snapshots> </pluginRepository> </pluginRepositories> </profile> </profiles> <activeProfiles> <activeProfile>local</activeProfile> </activeProfiles>
除了repositories以外,还有pluginRepositories,这配置的是插件的仓库地址,配置方式和repository一样。
依赖包
第一步:
在settings.xml中配置<server>信息,指明我们要到的仓库地址。
  <servers>
        <server>
            <id>release</id>
            <username>admin</username>
            <password>admin123</password>
 </server> <server> <id>snapshot</id> <username>admin</username> <password>admin123</password> </server> </servers>
这里配置了两个server,<id>是server的唯一标识,后面需要用到。<username>和<password>是我们仓库的访问凭证,否则没有权限到仓库中。
第二部:
在pom.xml中配置:
<distributionManagement>
        <repository>
            <id>release</id>
            <name>maven-releases</name>
            <url>http://localhost:8081/repository/maven-releases/</url>
 </repository> <snapshotRepository> <id>snapshot</id> <name>maven-snapshots</name> <url>http://localhost:8081/repository/maven-snapshots/</url> </snapshotRepository> </distributionManagement>
我们看到其中配置了一个 repository ,另外还有一个 snapshotRepository,上面表示的是 releases 版。同样注意 id 要和 setting.xml 里 server 下的 id 一致,不然会出现权限问题。url 分别指定 maven-releases 和 maven-snapshots 的地址。
只要在项目中配置 1.0-SNAPSHOT 这样,带有 SNAPSHOT 的就会到 snapshot 仓库,如果不加 SNAPSHOT 就会到 release 仓库。
需要时候,执行mvn clean deploy命令。
server的id一定要与repository的id一致。
示例:
1、新建demo工程,名称为maven。
2、在pom.xml中添加配置,完整的文件如下:
<?xml version="1.0" encoding="UTF-8"?>
<project xmlns="http://maven.apache.org/POM/4.0.0" xmlns:xsi="http://www.w3.org/2001/XMLSchema-instance"
         xsi:schemaLocation="http://maven.apache.org/POM/4.0.0 https://maven.apache.org/xsd/maven-4.0.0.xsd">
    <modelVersion>4.0.0</modelVersion>
    <parent>
 <groupId>org.springframework.boot</groupId> <artifactId>spring-boot-starter-parent</artifactId> <version>2.3.1.RELEASE</version> <relativePath/> <!-- lookup parent from repository --> </parent> <groupId>com.example</groupId> <artifactId>maven</artifactId> <version>0.0.1</version> <name>maven</name> <description>Demo project for Spring Boot</description> <properties> <java.version>1.8</java.version> </properties> <dependencies> <dependency> <groupId>org.springframework.boot</groupId> <artifactId>spring-boot-starter-web</artifactId> </dependency> <dependency> <groupId>org.springframework.boot</groupId> <artifactId>spring-boot-starter-test</artifactId> <scope>test</scope> <exclusions> <exclusion> <groupId>org.junit.vintage</groupId> <artifactId>junit-vintage-engine</artifactId> </exclusion> </exclusions> </dependency> </dependencies> <build> <plugins> <plugin> <groupId>org.springframework.boot</groupId> <artifactId>spring-boot-maven-plugin</artifactId> </plugin> </plugins> </build> <distributionManagement> <repository> <id>release</id> <name>maven-releases</name> <url>http://localhost:8081/repository/maven-releases/</url> </repository> <snapshotRepository> <id>snapshot</id> <name>maven-snapshots</name> <url>http://localhost:8081/repository/maven-snapshots/</url> </snapshotRepository> </distributionManagement> </project>
3、执行mvn clean deploy命令
- 因为
<version>0.0.1</version>,并不是SNAPSHOT版本的,所以会使用<distributionManagement>的<repository>仓库,即jar包会推到maven-releases仓库中。
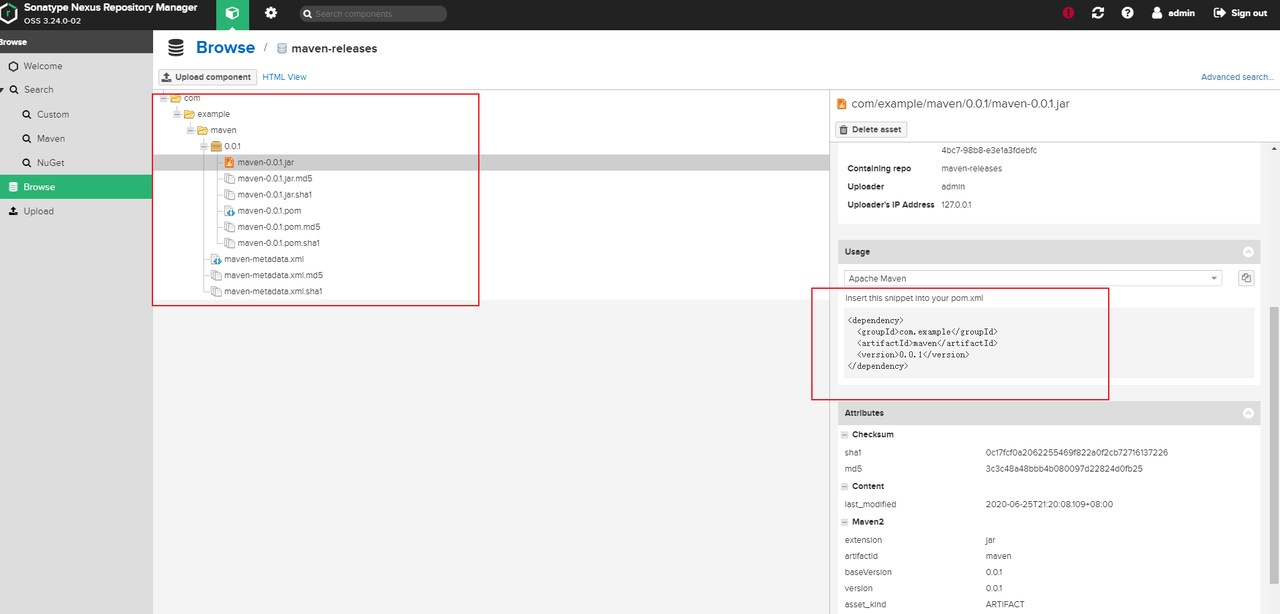
maven-releases仓库中已经有了我们推上去的包,其他项目可以通过坐标拉取到这个jar。
- 我们将
<version>0.0.1</version>改为<version>0.0.1-SNAPSHOT</version>快照版本,jar则会被推到maven-snapshots仓库中。

镜像
1.设置镜像
<mirrors>
        <mirror>
            <id>nexus</id> 镜像的唯一标识
            <name>Tedu Maven</name> 镜像名称,随意
            <mirrorOf>*</mirrorOf> 镜像匹配的仓库
 <url>http://maven.aliyun.com/nexus/content/groups/public/</url> 镜像的地址 </mirror> </mirrors>
mirror可以配置多个。
2.镜像与仓库
mirror相当于一个拦截器,它会拦截maven对remote repository的相关请求,把请求里的remote repository地址,重定向到mirror里配置的地址。
在仓库配置中有<url>http://localhost:8081/repository/maven-public/</url>,在镜像中也配置有<url>http://maven.aliyun.com/nexus/content/groups/public/</url>,如果我们的项目需要下载某个依赖,则寻找过程:
- 如果本地仓库中找不到就到远程仓库下载。
- 如果配置了有镜像,并且匹配到了该仓库,则访问镜像url,不再访问仓库url。
- 如果没有镜像或者不匹配,则继续到远程仓库中下载。
<mirrorOf>规则:
* = everything
external:* = everything not on the localhost and not file based.
repo,repo1 = repo or repo1
*,!repo1 = everything except repo1
配置* ,则配置的所有的仓库的访问都将转发到镜像的地址;
多个仓库用‘,’逗号隔开;
!叹号表示不包含。
repo,repo1指的都是仓库的<id>
本文使用 tech.souyunku.com 排版